SOLARA Starter PACK Montageanleitung

Inhaltszusammenfassung für SOLARA Starter PACK
-
Seite 2: Inhaltsverzeichnis
3 Die Inbetriebnahme 4 Wartung und Reinigung 5 Gewähr und Garantieleistungen 6 Haftungsausschluss Contents 1 Guidelines for this installation guide 2 Installation of the SOLARA complete set 3 Commisioning of the system 4 Maintenance and cleaning 5 Warranty and guarantee 6 Disclaimer... -
Seite 3: Hinweise Zu Dieser Anleitung
Teile zu berühren und gut isoliertes Werk- zeug zu benutzen, wenn die Module nicht Herzlichen Glückwunsch zum Erwerb dieses abgedeckt sind. SOLARA Komplettsets. Sie haben ein hoch- wertiges, leicht zu installierendes und opti- Solarmodule niemals ungesichert aufbe- mal aufeinander abgestimmtes Komplettset wahren. -
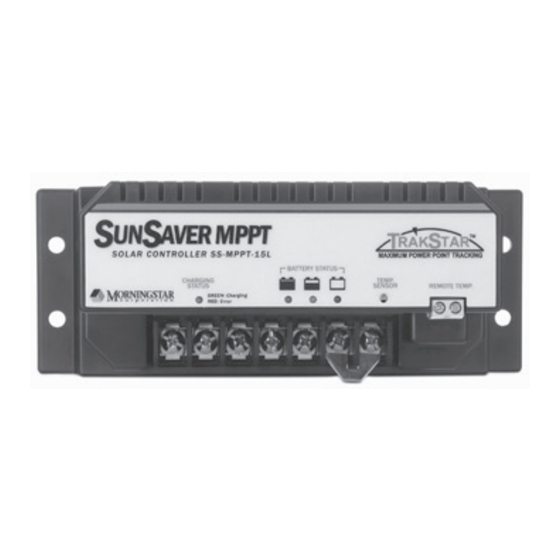
Seite 4: Installation Des Solara Komplettsets
2 Installation des SOLARA Hemisphäre). Der Neigungswinkel hängt von der Anwendung ab: Komplettsets • Für eine regelmäßige Leistungsversor- Hinweise für die Handhabung und Instal- gung während des ganzen Jahres sollte lation des Solarmoduls der Neigungswinkel zur Horizontalen 15° Trotz der sicheren Konstruktion dieses Pro- bis 20°... - Seite 5 Installation des SOLARA-Komplettsets Parallelschalten zweier Module: Schlies- Variante 1 Modul sen Sie die Module an die mitgelieferten Mul- Haben Sie ein Komplettset mit einem Modul tiContact Y-Verteiler an und verbinden Sie erworben, verbinden Sie die Anschlussste- diese mit dem DCconnect-C Anschlusskabel cker des Moduls mit dem DCconnect-C An- (Modul/Laderegler, s.
- Seite 6 Öl, Fett,Staub und sonstigen Schmutz- resten von den Klebeflächen. Hierfür die Klebe- und Reini- gungsanweisungen SOLARA FIX PACK beachten! Verbinden der Profile mit dem Solarmodul Zur Verschraubung der Haltespoiler oder Ecken an dem Solarmodul sind speziell dichtende Edelstahlschrauben der Größe 4,2 x 40 mm beigelegt.
-
Seite 7: Die Inbetriebnahme
Bohrung nach außen tritt und bohren 3 Die Inbetriebnahme Sie am besten mit einem kleinen Bohrer vom Die Inbetriebnahme der SOLARA Komplett- Innenraum aus vor. Die endgültige Bohrung sets ist Bestandteil der fach- und sachge- wird vom Dach aus gebohrt. -
Seite 8: Wartung Und Reinigung
Zu Gewähr- und Garantieleistungen lesen Pollen etc. die Modulfläche verschmutzen, Sie bitte ergänzend die Garantieerklärung empfehlen wir eine Reinigung mit reichlich der SOLARA GmbH, zu finden unter www. Wasser, jedoch ohne Reinigungsmittel. solara.de. Nutzen Sie für die Reinigung am besten einen Wasserschlauch und ein weiches, schonendes Reinigungsgerät, z.B. -
Seite 9: Haftungsausschluss
6 Haftungsausschluss Die SOLARA GmbH kann die Einhaltung der Hinweise und Anweisungen dieser Monta- geanleitung nicht überwachen. Daher kann seitens der SOLARA GmbH keine Verant- wortung oder Haftung für Schäden durch unsachgemäße Installation, nicht bestim- mungsgemäßen Betrieb oder falscher Ver- wendung des Komplettsets bzw. - Seite 16 SOLARA GmbH Große Bergstraße 219 22767 Hamburg Tel. +49 (0) 40 300 66 82-0 Fax +49 (0) 40 300 66 82-29 info@solara.de www.solara.de...