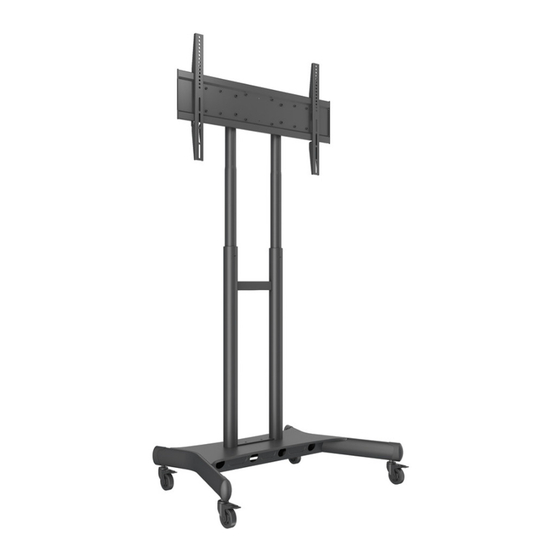
Multibrackets M Public Floorstand Basic 180 Installationsanleitung
Vorschau ausblenden
Andere Handbücher für M Public Floorstand Basic 180:
- Installationsanleitung (16 Seiten)
M
I_JL
T
Installation
manual
M Public
Floorstand
EAN:
7350073734627
Installation
Manuel
Instalaöni
manuål
Installationsmanual
Installationsanleitung
Paigaldusjuhend
OönyiEg EYKaTd0Taong
Manual
de instalaciön
Asennusohje
n-T-pn
nn-nn
Szerelési kézikönyv
Manuale
di installazione
Montavimo instrukcija
UzstädiSanas rokasgrämata
Installatie handleiding
Installasjonshåndbok
Instrukcja instalacji
Manual
de instalaqäo
Manual
de instalare
VIHCTPYKUVI
R
no ycraHOBKe
InStalaöny manuål
Navodila
za montaio
Installationsmanual
Montaj kilavuzu
Basic
180
www.multibrackets.com
Inhaltsverzeichnis

Verwandte Anleitungen für Multibrackets M Public Floorstand Basic 180


Inhaltszusammenfassung für Multibrackets M Public Floorstand Basic 180
- Seite 1 OönyiEg EYKaTd0Taong Manual de instalaciön Asennusohje n-T-pn nn-nn Szerelési kézikönyv Manuale di installazione Montavimo instrukcija UzstädiSanas rokasgrämata Installatie handleiding Installasjonshåndbok Instrukcja instalacji Manual de instalaqäo Manual de instalare VIHCTPYKUVI no ycraHOBKe InStalaöny manuål Navodila za montaio Installationsmanual Montaj kilavuzu www.multibrackets.com...
- Seite 2 Le viti in dotazione potrebbero rivelarsi non adatte per il materiale della parete, del sof-ftto 0 del pavimento. Sostituitele quindi con viti piü idonee in caso di necessitå. Nel caso riscontriate problemi nel montaggio di questo prodotto, consultate un tecnico specializzato. LCD* -jay www.multibrackets.com...
- Seite 3 Warranty Period. Should a part on your Multibrackets product fail, please create an installation. Tothe maximum extent permitted by applicable law,...
-
Seite 4: Inhaltsverzeichnis
All images are for reference, to prevail in product. Manual Tightening loosening Phillips Adjustment By Hand Metre Rule Wrench Direction Direction Screwdriver www.multibrackets.com... - Seite 5 Parts List M8x25mm M6x25mm M5x25mm 01606.2xH1.5mm 19x8.5xH13mm M8x20mm M8x72mm M8x20mm www.multibrackets.com...
-
Seite 6: Castor Wheels To Base
1. Castor wheels to base installation Step 1 o zoo step 2 step 3 ooooocno Step 4 0000000 www.multibrackets.com... -
Seite 7: Post Assembly
2. Post assembly to base installation Step 1 Step 2 Step 3 Note: Make sure cables management windows are facing the rear of base. ecoeoecz eoeoec• Caution: Ensure screws secured firmly. Step 4 Base bottom www.multibrackets.com... -
Seite 8: Telescopic Mounting
1 and 2 on left poles assembly. Right upper poles Left upper poles 0 Height label i ndicator TV panel center height measured Safety screws from floor. 1650mm Right lower poles 1600mm Left lower poles 1550mm Safety screws Spring Spring ball ball Figure Figure www.multibrackets.com... - Seite 9 4. AV shelf installation step step 2 Step 3 Caution: Ensure screws secured firmly. Step 4 Note • To adjust shelf height, simplyloosen 4X screws under shelf and tighten firmly after set. step 5 www.multibrackets.com...
-
Seite 10: Interface
5. Interface installation Caution: Ensure screws secured firmly. Step 1 step 2 0000000 www.multibrackets.com... - Seite 11 0 0 0 0 0 0 0 0 0 0 0 000000000000000 000000000000000 000000000000000 000000000000000 000000000000000 0 0 00 0 0 0 0 0 0 0 0 0 0 0 000000000000000 0 0 0 0 0 0 0 0 0 0 0 0 00 LffL...
-
Seite 12: Selection Of Tv Mounting
7. Selection of TV mounting patterns Step 1 Step 2 Step 3 Caution: Ensure screws secured firmly. Note To avoid damage plastic spacer must be used when depth of mounting holes is minimal. M5x25mm(C) M8x25mm(A) M6x25mm(B) www.multibrackets.com... - Seite 13 8. Mounting TV on pole interface Step 1 Step 2 Step 3 Note Moves center Caution: Ensure screws secured firmly. www.multibrackets.com...
-
Seite 14: Video Trayinstallation
9.Video trayinstallation Step 1 step 2 Step 3 Caution: Ensurescrewsare secured firmly. Step 4 Step 5 oooooooooooooooooooooo 00000 Note: Adjustable height. www.multibrackets.com... -
Seite 15: Tv Height Re-Set
Fig 4 , 5 and 6. Step 1 Fig I Step 2 Step 4 Fig 2 Fig 4 Height label indicator Note: Step 3 Be caution when step 5 Fig 3 routing wires to Fig 5 avoid damage. Fig 6 Spring ball www.multibrackets.com...