ThermoPro TP-09 Bedienungsanleitung
Funk-kochthermometer
Inhaltsverzeichnis
Verfügbare Sprachen
Verfügbare Sprachen
Quicklinks
Réglementation FCC
1. Cet appareil est en accord avec la partie 15 des Règles FCC. L'opération est sujette
aux deux conditions suivantes :
(1) Cet appareil ne provoque pas d'interférences dangereuses,
(2) L'appareil doit accepter n'importe quelle interférence reçue, dont une interférence
pouvant causer une opération non voulue.
2. En cas de changements ou de modifications qui ne sont pas expressément approuvés
par la partie responsable, celle-ci peut invoquer la responsabilité de l'utilisateur
opérant sur l'équipement.
GARANTIE LIMITÉE A 90 JOURS
ThermoPro garantit ce produit de tout défaut dans ses composants, matériaux et
fabrication pendant une période de 90 jours, à partir de la date d'achat.
Si une réparation ou un service sous garantie est nécessaire, veuillez contacter le service
client par téléphone ou courriel pour des instructions sur la manière d'emballer et d'envoyer
le colis à ThermoPro.
Cette garantie vous donne droit à des dispositions légales et certains droits
supplémentaires selon l'État où vous êtes domicilié.
SERVICE CLIENT
Téléphone:
1-877-515-7797 (US & CA seulement)
Email: service@buythermopro.com
Heures d'Ouverture : Lundi au Vendredi de 9:00 à 17:00 heure locale.
-24-
EN
Remote Food Thermometer
Model No. TP-09
Introduction
Congratulations on your purchase of the Professional Remote Cooking Thermometer,
a programmable radio frequency food thermometer. You will now be able to remotely
monitor the time and temperature of food cooking on your grill, smoker or oven.
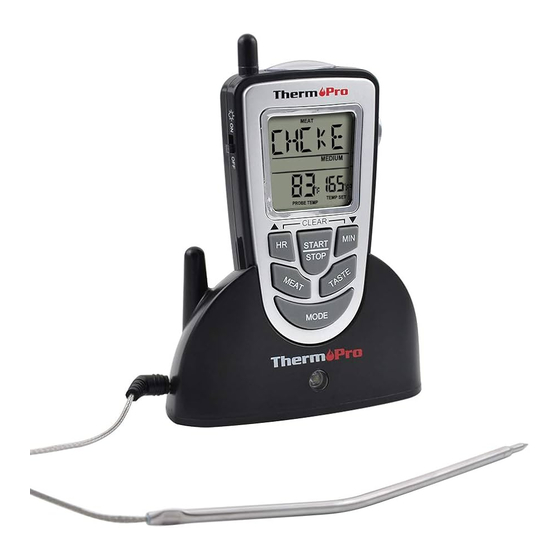
Components
1. 1 - receiver unit.
2. 1 - transmitter unit.
3. 1 - detachable stainless steel probe sensor.
4. 2 - 2* AAA batteries.
Receiver Features
Receiver LCD Screen
Light ON/OFF
CLEAR
START
HR
MIN
STOP
MODE
LCD (Liquid Crystal Display) – Displays all icons, temperature and timer. See LCD
diagram for detailed information.
Belt Clip – Battery compartment clip allows you to be mobile. Clip the receiver unit
to belt.
Battery Compartment – Holds 2 AAA batteries.
Sound Speaker
/ºC/ºF
Battery Compartment
-1-
Belt Clip
Inhaltsverzeichnis

Verwandte Anleitungen für ThermoPro TP-09


Inhaltszusammenfassung für ThermoPro TP-09
-
Seite 5: Einzelteile
Funk-Kochthermometer Wenn Sie die Taste drücken und 2 Sekunden gedrückt halten wird die Stundenanzeige Model Nr. TP-09 um 10 Stunden pro Sekunde ansteigen. Im Thermometer-Modus drücken Sie dies Taste ein mal um den Temperaturwert zu erhöhen. Wenn Sie die Taste 2 Sekunden Bedienungsanleitung lang gedrückt halten wird der Temperaturwert um 10 Grad pro Sekunde ansteigen. - Seite 6 Sender Funktionen b. Öffnen Sie das Batteriefach des Senders und legen Sie zwei Batterien des Typs 'AAA' ein. Der Sender wird automatisch die Temperatur an den Empfänger zur Synchronisation/ Kopplung senden. c. Öffnen Sie das Batteriefach des Empfängers und legen Sie zwei Batterien des Typs 'AAA' ein.
-
Seite 7: Verfahren Für Die Typische Verwendung Beim Grillen Im Freien
2. Drücken Sie die MEAT-Taste und wählen Sie die Art des Fleisches aus. PROG 6. Stellen Sie den Sender abseits der Hitzequelle des Grills auf. Stellen Sie den Sender (Programm), GBEEF (Rinderhackfleisch), GPOUL (Geflügelhackfleisch), BEEF nicht auf die geschlossene Abdeckung und auch keinesfalls innerhalb der Abdeckung (RIND), VEAL (KALB), CHCKE (Huhn), PORK (Schwein), POULT (Geflügel), LAMB auf. -
Seite 8: Reinigung
DIE GEWÄHRLEISTUNG IST AUF 90 TAGE BESCHRÄNKT Vorsicht ThermoPro garantiert vom Zeitpunkt des Verkaufs für 90 Tage, dass dieses Produkt frei Tragen Sie immer einen hitzebeständigen Handschuh wenn Sie den Edelstahl- von Fehler bei Teilen, Materialien oder der Herstellung ist.