Werbung
Verfügbare Sprachen
Verfügbare Sprachen
Quicklinks
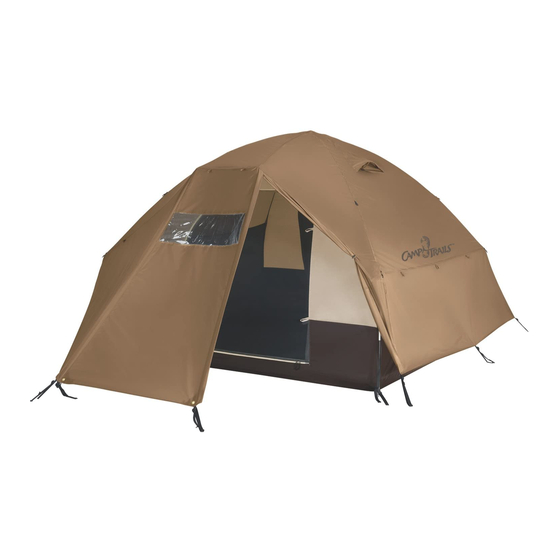
Assembly Instructions Grand Manan
Note: Do not drop the tent bag or pole bag on its end. Do
not bounce tent bag on ist end to get the tent out. These
actions may cut the shock cord and/or damage the pole
ends.
Raise the tent:
Unroll and unfold the tent and lay it on the ground. If it's
windy, stake down one front corner into the wind.
Assemble all of the shock corded poles. Keep the pole
sections from snapping together, as this can damage the pole
ends. Make certain each plain end has been properly seared
into the metal ferrule. Lay the poles side by side and divide
according to length. Long for the tent and short for the fly.
Insert one of the two
long poles into each sleeve.
The poles run corner to
corner across at the center
through the sleeves. See fig.
1&2.
fig.2
Insert the post end of a pole into
a grommet on the corner stake-out
web. See fig. 3
At the opposite corner, grasp the
web and simultaneously push the
pole to form an arc. Insert the post
end into the grommet on the
corner stake-out web to maintain
tension. Do this again with the
second long pole and the other
pair of corner webs.
See fig. 4
The tent is now freestanding. Place the tent in
the desired location and stake down through the
corner web loops. Stake the opposite corners
while applying tension to square the tent and
smooth any floor wrinkles. It works best to do
this before you add the fly. See fig. 5
Assemble the fly
Once the tent is securely staked down, spread
the rain fly out, upside down. Find the web
pockets at the top of the clear window. Place the
fig. 1
ends of the fly rod into the pockets.
Wrap the Velcro tab around the rod to hold in
place. See Fig. 6&7
Secure the fly to the tent
fig.3
Turn the fly right side up and drape it over
the top of the tent. Align the orange web on
the fly to the orange web on the tent. The fly
rod should poke out over the doors. Reach
under the fly and wrap the Velcro straps
through the openings in the sleeves and
around the pole to secure the fly to the
tent frame. See fig. 8
Also attach the wide Velcro straps to the
patches on the sleeves at each corner elbow.
fig.4
See fig. 9
Locate the long adjustable web/buckle
assemblies on the underside at each corner of
the fly. Attach these buckles to their mates on
the corner stake-out webs and adjust to proper
tension. See fig. 10
There are also web/ring assemblies on the
bottom at each corner on the fly. Slide these
rings over the same stakes that hold the
corner web loops. Adjust as necessary. See
fig. 11
Grasp the web/rings on the vestibule and
pull out and away from the tent. Stake these
down and adjust tension. See fig. 12
fig.5
fig.10
fig.6
Feature:
The Grand Manan has exceptional air flow. Detach the web
rings from the stakes. Roll up the fly sides for-way-
ventilation. Secure in place with the attached loops and
toggles.
Note
In strong winds, tie extra cords (included) to the storm rings
on the fly and stake down. Adjust the slider so that the cords
are tight. See fig. 13.
Abbau
Pull up stakes and open doors. Remove
fig.7
the fly and fly rod. Push poles out of
the sleeves. Collapse all poles and stow
in the pole bag. Fold the tent/fly. Roll
up both along with the pole bag
towards a door. Stow all in the main
bag.
fig.8
fig. 9
fig. 12
fig. 11
fig.13
Werbung

Verwandte Anleitungen für Camp Trails Grand Manan

Inhaltszusammenfassung für Camp Trails Grand Manan
- Seite 1 Feature: fig.2 The Grand Manan has exceptional air flow. Detach the web rings from the stakes. Roll up the fly sides for-way- ventilation. Secure in place with the attached loops and Insert the post end of a pole into toggles.
- Seite 2 Pic. 7 Pic. 8 Pic. 3 Instructions de montage: Grand Manan Directives 1. Inspecter le site et s’assurer qu’il ne présente pas d’objet pointus, tranchants ou protubérants. (S’assurer que le site 9. Assujettir les deux vestibules au sol à l’aide des piquets. est bien drainé...
- Seite 3 Klettband um die Stange, um sie an Eigenschaften der richtigen Stelle Der Grand Manan stellt einen außergewöhnlichen Luftstrom bereit. Entfernen Sie zu halten. Abb. 6&7 fig.6 die Abspannringe des Außenzeltes von der Befestigung und rollen Sie das Außenzelt für die 4-Wegeventilation nach oben. Sichern Sie es mit den angebrachten Schlaufen und Knebeln.
- Seite 4 Eigenschaften der richtigen Stelle • Bevestig de Direct na aankoop Der Grand Manan stellt einen außergewöhnlichen Luftstrom bereit. Entfernen Sie fig.6 zu halten. Abb. 6&7 brede vlakken Kies de juiste tent haringen. Belangrijk: Verschillende die Abspannringe des Außenzeltes von der Befestigung und rollen Sie das...