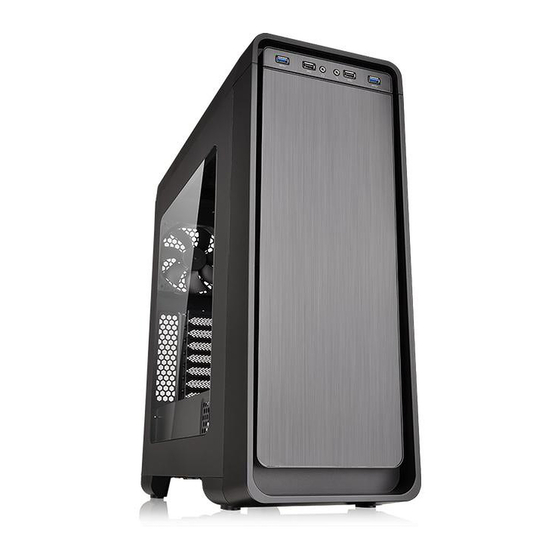
Thermaltake Versa U21 Benutzerhandbuch
Inhaltsverzeichnis
Quicklinks
U21
Versa
User's Manual
Benutzerhandbuch
Mode d'emploi
Manual del usuario
Manuale dell'utente
Manual do Utilizador
安裝說明書
用戶手冊
ユーザーズマニュアル
Руководство пользователя
© 2016 Thermaltake Technology Co., Ltd. All Rights Reserved. A-2016.03
kullanıcı elkitabı
All other registered trademarks belong to their respective companies.
www.thermaltake.com
(EEE Yönetmeliğine Uygundur)
คู ่ ม ื อ การใช้
Inhaltsverzeichnis

Verwandte Anleitungen für Thermaltake Versa U21


Inhaltszusammenfassung für Thermaltake Versa U21
- Seite 1 Manuale dell’utente Manual do Utilizador 安裝說明書 用戶手冊 ユーザーズマニュアル Руководство пользователя © 2016 Thermaltake Technology Co., Ltd. All Rights Reserved. A-2016.03 kullanıcı elkitabı All other registered trademarks belong to their respective companies. www.thermaltake.com (EEE Yönetmeliğine Uygundur) คู ่ ม ื อ การใช้...
-
Seite 2: Inhaltsverzeichnis
Motherboard/ODD/FDD/2.5”HDD Screw # 6-32 x 6 mm 3.5"HDD(HDD Tray) Chapter 4. Other Screw M3 x 5 mm Power Supply Thermaltake Power Supply Series (Optional) HDD Cage Screw Ø3 x 5mm *Picture for reference only Front Panel Screw Ø3 x 8mm... -
Seite 3: Warning And Notice
Warning and Notice CPU Cooler Height Limitation VGA ( Add- on card) Length Limitation Atenção!! - Limite de altura para o dissipador do CPU: O limite de altura para o dissipador do CPU é 155 mm (6,1 polegadas). - Limite de comprimento para VGA (placa gráfica): O limite de comprimento para VGA (placa gráfica) é... -
Seite 4: Side Panel Disassembly
PSU Installation Side Panel Disassembly English / 繁體中文 / Place the power supply in proper location and 將電源供應器放在正確的位置,並用螺絲固定 English / 繁體中文 / secure it with screws. 鎖上。 Remove the screws on the back of the chassis, 移除機殼後方螺絲,將側窗打開。 and open the side panel. Deutsch / 简体中文... -
Seite 5: Motherboard Installation
5.25" Device Installation Motherboard Installation English / 繁體中文 / 1. Remove the 5.25” drive bay cover. 1. 移除5.25”擴充槽檔板 2. Slide the 5.25” device into the drive bay to lock the device. 2. 將5.25”裝置至適當的位置 Note: Press the 5.25” tool-free mechanism to unlock the 注意: 如需移除5.25”裝置,先按壓5.25”無螺機機構,再將... -
Seite 6: " & 2.5" Hdd Installation
3.5” & 2.5" HDD Installation Without HDD Tay With HDD Tay 3.5" HDD 2.5" HDD 2.5" HDD English / 1. Pull the HDD tray out. 3.5" HDD 2. Place the HDD on proper location and secure it with screws. 3. Slide the HDD tray back to the HDD cage. 繁體中文... -
Seite 7: Pci Slot Usage
PCI Slot Usage Radiator Installation English / 繁體中文 / 1. Loosen the screws with a screwdriver. 1. 用螺絲起子將螺絲取下. 2. Install the PCI card in proper location and secure 2. 將擴充卡放置在合適的位置並用螺絲固定。 it with screws. 简体中文 / Deutsch / 1. 用螺丝起子将螺丝取下. 1. Lösen Sie die Schrauben mit einem 2. -
Seite 8: Air Cooling Installation
Air Cooling Installation Filter Installation Front Fan 120mm x 2 or 140mm x 2 HDD Fan Note: 120mm x 1... -
Seite 9: Case Led Connection
Leads Installation Français English Guide d'installation des fils Leads Installation Guide Connexion des voyants du boîtier / Sur la face avant du boîtier, vous trouverez plusieurs voyants et les fils des Case LED Connection / On the front of the case, you can find some LEDs and switch leads. Please consult your user boutons. - Seite 10 Italiano 繁體中文 線材安裝說明 Guida di installazione dei contatti 機殼LED連接方式 / 在機殼前方的面板後面,可以找到一些LED與開關線材(POWER Switch….),請參考主機板使用說明書, Connessione del LED del case / Nella parte anteriore del case, sono presenti alcuni contatti per interruttori e LED. 並將機殼上的線材正確地連接到主機板上,這些線材通常都會印有標籤在上面,如果沒有的話,請找出機殼前方面板上線材原 Consultare il manuale utente del produttore della scheda madre, quindi connettere i contatti alla parte superiore del 本的位置以知道正確的來源。...
- Seite 11 日本語 Türkçe リード線の取り付けガイド Ara Kablo Kurulum Kılavuzu Kasa ışık bağlantısı / Kasanın ön kısmında bazı ışıklar ve anahtar ara kabloları görebilirsiniz. Lütfen anakart üreticinizin ケース LED の接続 / ケース前面には、LEDとスイッチリード線があります。 マザーボードメーカーのユーザーマニュアル sağladığı kullanım kılavuzuna bakın ve daha sonra, bu ara kabloları, anakart üzerindeki panel bağlantı noktalarına bağlayın. を参照し、これらのリード線をマザーボードのパネルヘッダに接続してください。...
-
Seite 12: Thermaltake Power Supply Series (Optional)
Why Choose Thermaltake Power Supply? Quality From Within Every power supply units from Thermaltake should pass a very strict quality control before sent to customers, including BIT(Burn-in-test) for over 8 continuous hour in a 45℃ room to test if a unit can run normally under usual scene, and Hipot test to ensure the power supply unit can survive and protect both users and their systems when the voltage volume surges.