Werbung
Quicklinks
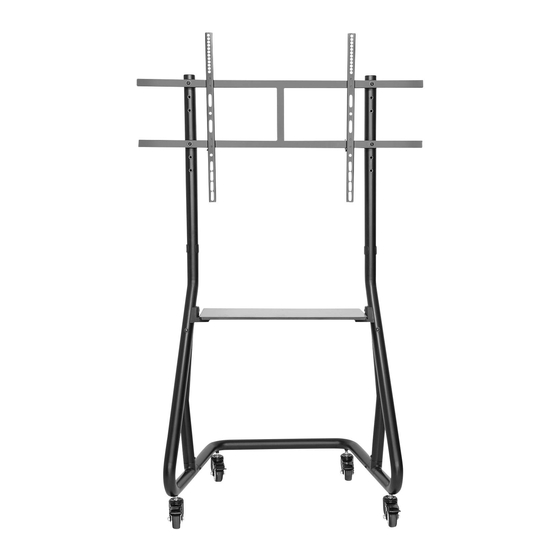
NS-M3800BLACK
EN
Floor stand
NL
Vloersteun
DE
Bodenständer
FR
Support au sol
IT
Supporto da pavimento
ES
Soporte de suelo
PT
Suporte de chão
DK
Gulvstander
INSTRUCTION MANUAL
NO
Gulv stativ
SE
Golvstativ
FI
Lattiateline
PL
Stojak podłogowy
CS
Podlahový stojan
SK
Podlahový stojan
RO
Stativ pentru podea
WWW.NEOMOUNTS.COM
Werbung

Verwandte Anleitungen für Newstar Neomounts NS-M3800BLACK


Inhaltszusammenfassung für Newstar Neomounts NS-M3800BLACK
- Seite 1 INSTRUCTION MANUAL NS-M3800BLACK Floor stand Gulv stativ Vloersteun Golvstativ Bodenständer Lattiateline Support au sol Stojak podłogowy Supporto da pavimento Podlahový stojan Soporte de suelo Podlahový stojan Suporte de chão Stativ pentru podea Gulvstander WWW.NEOMOUNTS.COM...
- Seite 2 Tool NS-M3800BLACK 0-100 kg | 135-153 cm 400x400 - 1000x600 mm 0-220 lbs PARTS C (x1) D (x1) E (x2) F (x1) M6x10 (x6) M8x15 (x1) M8x35 (x6) D8 (x4) M6x16 (x2) 4mm (x1) A (x1) B (x1) G (x1) H (x1) I (x4) J (x3)
- Seite 3 STEP 2 Combine parts A and B with part C Verbind de onderdelen A en B met onderdeel C Teile A und B mit Teil C kombinieren Joignez les parties A et B avec la partie C Combina le parti A e B con la parte C Combina las partes A y B con la parte C Combine as partes A e B com a parte C Połącz części A i B z częścią...
- Seite 4 STEP 3 Install the feet Installeer de stelpoten Montieren Sie die Füße Installez les pieds Installa i piedi Instalar los pies Instale os pés Zainstaluj stopy STEP 4 Install the VESA plate Installeer de VESA plaat VESA Platte montieren Installation de la plaque VESA Installare la piasta VESA Instalar la placa VESA Instalar a placa VESA...
- Seite 5 STEP 5 Attach the shelf on the shelf holders Bevestig de plank op de houder Befestigen Sie das Regal an den Regalhaltern Fixez l'étagère sur les supports d'étagère Attaccare la mensola sui portaoggetti Coloque el estante en los soportes de estante Anexar a prateleira nos suportes de prateleira Przymocuj półkę...
- Seite 6 OPTION Use spacers if necessary Gebruik afstandhouders indien nodig Montage der Distanzscheiben wenn nötig Utilisez des entretoises si nécessaire en fonction de la forme de votre écran * Not Included Utilizzare distanziatori, se necessario Utilice separadores si es necesario Utilize separadores se necessário Użyj dystansów jeśli jest taka potrzeba STEP 7 Attach the screen onto the bracket and secure it...
- Seite 7 STEP 8 Install the cable clips, run the cable through and attach a padlock (not included), or use the screw (b) Bevestig de kabelclips, leid de kabel(s) er doorheen en bevestig een hangslot (a, niet inbegrepen), of draai vast Installieren Sie die Kabelklemmen, führen Sie das Kabel durch und befestigen Sie ein Vorhängeschloss (nicht im Lieferumfang enthalten), oder verwenden Sie die Schraube (b)