Pet-Corp PC7 Einbauanleitung
Inhaltsverzeichnis
Verfügbare Sprachen
Verfügbare Sprachen
Quicklinks
ENGLISH
FRANÇAIS
ITALIANO
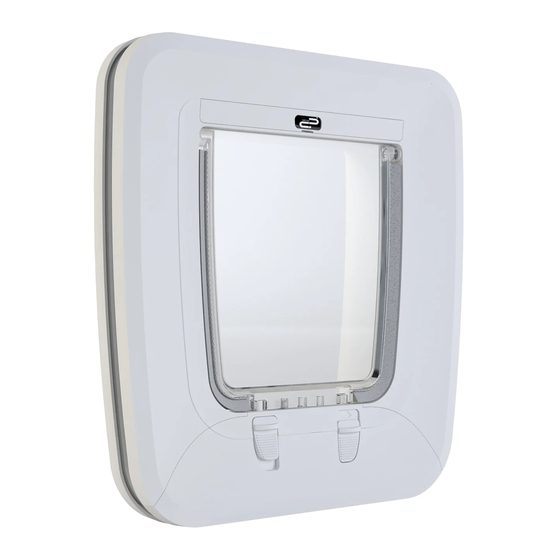
Installation of your pet door
Please read the instructions
Pose de la chatière
Prière de lire attentivement la notice
Einbau Ihrer Katzenklappe.
Anweisungen bitte sorgfältig durchlesen
Installazione della gattaiola.
Leggere attentamente le istruzioni
Instalación de la puerta de mascota
Lea atentamente las instrucciones
Instalação da porta para animais de estimação
Leia as instruções
ESPAÑOL
DEUTSCH
PORTUGUÊS
Inhaltsverzeichnis
Fehlerbehebung

Verwandte Anleitungen für Pet-Corp PC7


Inhaltszusammenfassung für Pet-Corp PC7
- Seite 1 ENGLISH FRANÇAIS ITALIANO Installation of your pet door Please read the instructions Pose de la chatière Prière de lire attentivement la notice Einbau Ihrer Katzenklappe. Anweisungen bitte sorgfältig durchlesen Installazione della gattaiola. Leggere attentamente le istruzioni Instalación de la puerta de mascota Lea atentamente las instrucciones Instalação da porta para animais de estimação Leia as instruções...
-
Seite 8: Entfernen Der Patrone
DEUTSCH 1. ENTFERNEN DER PATRONE INHALT 1. ENTFERNEN DER PATRONE ................13 Patrone entsichern, indem die Sperren nach innen geschoben 2. ELEKTRISCHE STÖREINFLÜSSE ..............14 werden 3. EINSETZEN DER BATTERIEN .................14 4. OPTION FÜR STROMANSCHLUSS ..............15 5. AN-/ABSCHALTEN ....................15 6. KENNZEICHNUNG VON HALSBANDANHÄNGERN ......16 7. -
Seite 9: Elektrische Störeinflüsse
DEUTSCH 4. OPTION FÜR STROMANSCHLUSS 2. ELEKTRISCHE STÖREINFLÜSSE Ein Netzteil kann separat beschafft werden. Um es anzuschließen, einfach in die Die Klappe besitzt einen empfindlichen Funkempfänger. Zu hohe elektrische Störeinflüsse Gleichstromsteckdose unten auf der Patrone einstecken. Sicherstellen, dass das Netzteil kőnnen die Reichweite des Systems beeinträchtigen. -
Seite 10: Fehlersuche
DEUTSCH Die Anzeige für niedrigen Batteriestand kann einige Tage lang vorhalten. Die Batterien sollten 6. KENNZEICHNUNG VON HALSBANDANHÄNGERN jedoch ersetzt werden oder es sollte auf Stromzufuhr zurückgegriffen werden, sobald die Anzeige Den Anhängerknopf 5 Sekunden lang oder länger (aber nicht länger als 10 Sekunden) für niedrigen Batteriestand aufleuchtet, um eine normale Klappenfunktion zu gewährleisten. - Seite 20 PETCORP 2012 PETCORP 2012...
- Seite 21 Devolva qualquer produto com defeito ao seu revendedor ou fornecedor para reparação ou substituição. WWW.PET-CORP.COM...