Clou First CL/02.27011 Montageanweisungen

Verwandte Anleitungen für Clou First CL/02.27011


Inhaltszusammenfassung für Clou First CL/02.27011
- Seite 1 First washbasin, aluite CL/02.27011 Montage instructies Installation instructions Notice de montage Montageanweisungen REV 04 01.05.2019...
- Seite 2 - Clou b.v. can not be held responsible for - Clou b.v. kan niet verantwoordelijk worden the results of improper use, improper gesteld voor de gevolgen van onaangepast...
- Seite 3 éventuellement erforderlichen Befestigungsmaterialien, die consolider le mur si nécessaire. Sie in Eigenverantwortlichkeit beschaffen. - Clou se réserve le droit pour tout - Clou behält sich das Recht vor, die changement technique ou optique par technische und Sichtbarmachungsände- rapport à...
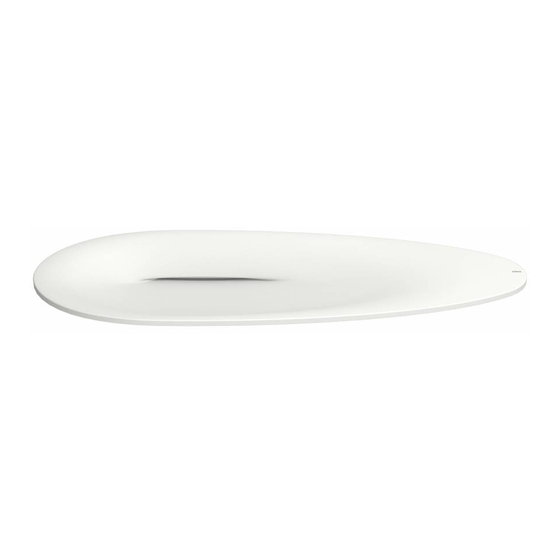
- Seite 4 Gegenstände auf das Produkt passend ist. Gebruiksvoorschriften: zie ook de onderhoudsvoorschriften op www.clou.nl User’s instructions: See also the maintenance guides at www.clou.nl max. Instructions d’utilisation: Voyer aussi les instructions de maintenance sur www.clou.nl 15 kg Gebrauchsanweisungen: Sehen Sie auch die Wartungsanweisungen am www.clou.nl...
- Seite 6 min. 87...
- Seite 7 1050 2100 2100...
- Seite 8 Duidt met potlood en wa- terpas de middellijn van de wastafel aan. Mark with pencil and level the centreline of the wash- basin. 280 mm Marquer avec un crayon et au niveau la ligne de centre du lavabo. Markieren Sie mit einem Bleistift und mithilfe der Wasserwaage die Mittellinie des Waschtisches.
- Seite 9 310 the drawing on page 6. Si la vasque est placée sur une tablette qui n’est pas de Clou faites les trous selon le desin sur page 6. Wenn das Waschbecken auf ein Platte gesetzt wird das nicht vom Clou ist, müssen die notwendigen Löcher...
- Seite 10 Plaats de wastafel op het planchet en bevestig met de sluitringen en M6 bouten (niet inbegrepen). Place the washbasin on the shelf and fix with the washers and M6 bolts (not included). Placer le lavabo sur la tablette et fixer avec les rondelles et les boulons M6 (non inclus).
- Seite 11 Bevestig de kraan (niet inbegrepen) en sluit deze aan op de waterleiding. Mount the tap (not included) and connect it to the water supply. Fixer le robinet (non inclus) et le raccorder à la conduite d’eau. Befestigen Sie die Waschti- scharmatur (nicht mit enthalten) und schließen Sie ihn an der Wasserleitung an.
- Seite 12 Clou. Bath findings. Clou bv Thermiekstraat 1 NL-6361 HB Nuth T +31 (0)45 524 56 56 info@clou.nl www.clou.nl Looking for inspiration?