Werbung
Verfügbare Sprachen
Verfügbare Sprachen
Quicklinks
Werbung

Inhaltszusammenfassung für XLayer magfix
- Seite 1 Gebrauchsanweisung magfix XLayer Magnethalterungen...
-
Seite 2: Installationsoptionen Der Magf Ix Platten
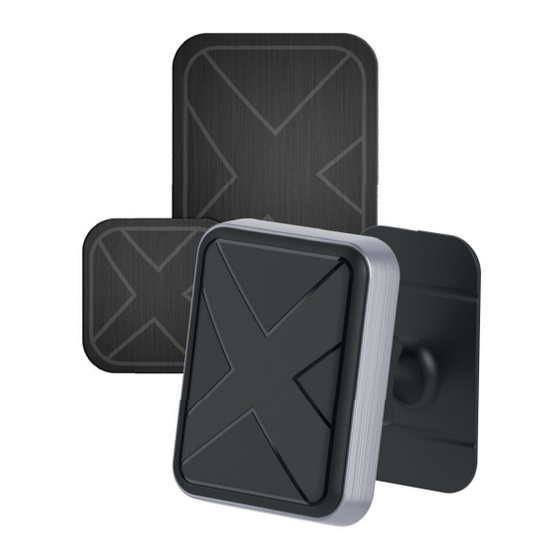
Vielen Dank, dass Sie sich für die XLayer magfix Magnethalterungen entschieden haben. Die magfix Serie deckt eine breite Palette unterschiedlichster Halterungen ab, die beliebig untereinander kombiniert werden können. Installationsoptionen der magf ix Platten Case Innenseite oder Case Rückseite oder Gerät Rückseite... - Seite 3 magfi x – für alle glatten Oberfl ächen Lieferumfang: 1 magfi x, 2 Metallplatten, 1 Halterung für alle glatten Oberfl ächen Installation: • Bauen Sie magfi x und die Halterung zusammen • Entfernen Sie zunächst die Folie von der Klebefl äche und befestigen Sie die Halterung an einer glatten Oberfl...
- Seite 4 magfi x – für Lüft ungsgitter Lieferumfang: 1 magfi x, 2 Metallplatten, 1 Halterung für das Lüftungsgitter Installation: • Bauen Sie magfi x und die Halterung zusammen • Befestigen Sie die Halterung an dem Lüftungsgitter Ihres Autos und fi xieren Sie diese, indem Sie das Gewinde drehen •...
- Seite 5 magfi x – für Frontscheibe & Armaturenbrett Lieferumfang: 1 magfi x, 2 Metallplatten, 1 Halterung für Frontscheibe & Armaturenbrett Installation: • Bauen Sie magfi x und die Halterung zusammen • Entfernen Sie zunächst die Folie von der Klebefl äche und befestigen Sie die Halterung an der Frontscheibe oder dem Armaturenbrett Ihres Autos.
- Seite 6 magfi x – für den Arbeitsplatz Lieferumfang: 1 magfi x, 2 Metallplatten, 1 Halterung für den Arbeitsplatz Installation: • Bauen Sie magfi x und die Halterung zusammen • Entfernen Sie zunächst die Folie von der Klebefl äche und befestigen Sie die Halterung auf Ihrem Arbeitsplatz •...
- Seite 7 magfi x – für die Kopfstütze Lieferumfang: 1 magfi x, 2 Metallplatten, 1 Halterung für die Kopfstütze Installation: • Bauen Sie magfi x und die Halterung zusammen • Lösen Sie die Schrauben der Halterung und befestigen Sie diese an der Kopfstütze Ihres Autos, indem Sie die Schrauben wieder in die entgegenge- setzte Richtung drehen...
- Seite 8 magfi x – für den Getränkehalter Lieferumfang: 1 magfi x, 2 Metallplatten, 1 Halterung für den Getränkehalter Installation: • Bauen Sie magfi x und die Halterung zusammen • Befestigen Sie die Halterung im Getränkehalter Ihres Autos. Passen Sie die Größe der Halterung an, indem Sie den Sockel drehen •...
- Seite 9 magfi x – für Fahrräder & Motorräder Lieferumfang: 1 magfi x, 2 Metallplatten, 1 Halterung für Fahrräder & Motorräder Installation: • Bauen Sie magfi x und die Halterung zusammen • Befestigen Sie die Halterung an der Lenkerstange Ihres Fahrrads oder Motorrads, indem Sie die Schraube lösen und wieder zudrehen •...
- Seite 10 Hiermit erklärt Gaudio, dass sich die XLayer magfix Dieses Elektrogerät gehört nicht in den Hausmüll. Magnethalterungen in Übereinstimmung mit den Für die fachgerechte Entsorgung wenden Sie sich bitte an die öffentlichen Sammelstellen in Ihrer grundlegenden Anforderungen und den übrigen Gemeinde.

