Werbung
Quicklinks
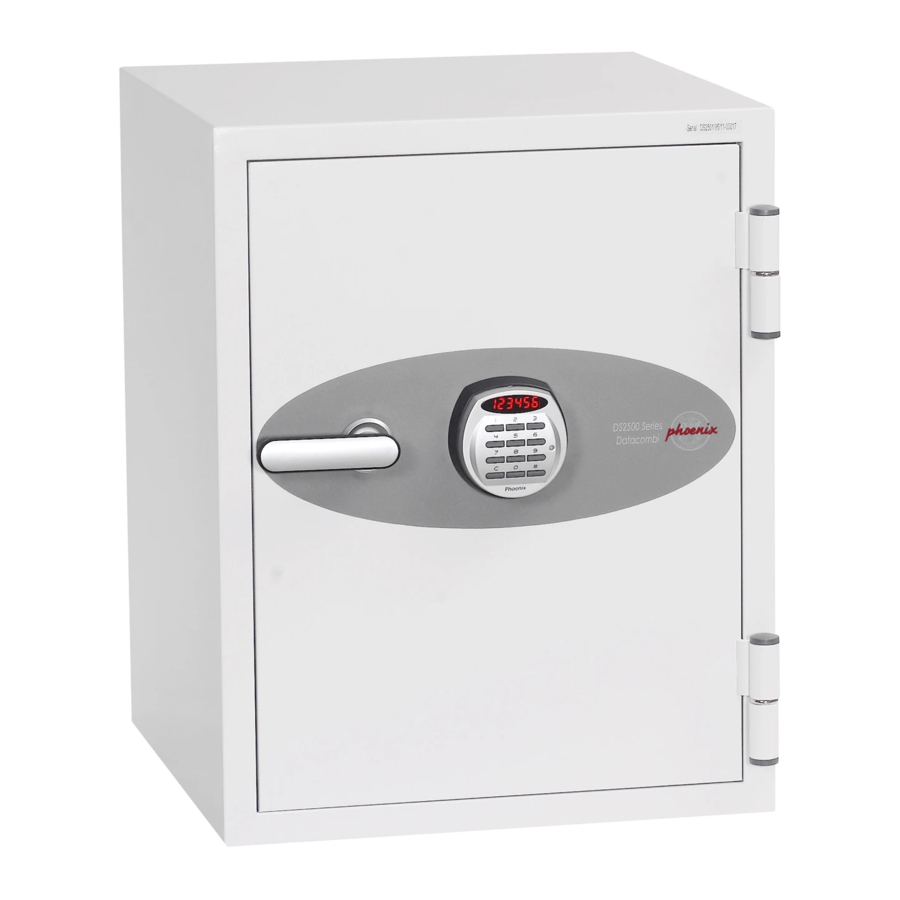
Thank you for purchasing a Phoenix Safe.
OPENING SAFE
Please insert one of the two keys supplied into the key hole and turn
clockwise. Push handle down then pull the door to open.
Your safe is ready prepared for base fixing. To base fix your safe, follow
the instructions below.
DS2500 BASE FIXING INSTRUCTIONS
MODEL
A
DS2501
123
DS2502
123
DS2503
180
CHOOSING A PLACE TO INSTALL YOUR SAFE
1. Look for a place that does not restrict access and the swing of the
door.
2. Ensure that the floor is level.
3. For best results a concrete floor is preferable.
DRILLING & BOLTING
1. Manoeuvre the safe into the required position. Now with the pencil
mark the floor around the safe.
2. Open the safe door.
3. Using the pencil, mark the positions on the floor for drilling through
holes in the base of the safe.
4. Now move the safe to one side, giving you access to the markings on
the floor.
5. Before using the drill bit. With the ruler measure 60mm from the tip of
the bit and put a piece of adhesive tape around the bit to ensure you
do not drill too deep.
6. Drill the 12mm holes in the floor until you reach your 60mm marker.
7. Clean the floor around the holes.
8. There are three parts to your bolts:
a. A coach screw
b. A plastic expanding sleeve
c. A steel washer
9. Insert the plastic expanding sleeves into the drilled holes.
10. Place the safe back into position, insert the coach screws, including
the washers, through the base of the safe, into the floor and tighten
until you can not tighten them any further.
YOUR SAFE IS NOW BASE FIXED.
SECURING THE DATABOX INTO THE SAFE
Using the 2 adhesive strips provided, attach these to the back of the
Databox. Position the box into the bottom of the safe, affixing it to the back
wall.
B
C
D
143
149
131
143
149
131
180
220
180
Phoenix Safe Company
DS2500K INSTRUCTIONS &
GUARANTEE REGISTRATION
FRENCH
Nous vous remercions pour l'achat d'un coffre Phoenix Safe.
OUVERTURE DU COFFRE
Veuillez insérer l'une des deux clefs fournies dans la serrure puis tourner
la dans le sens horaire.
Veuillez pousser la poignée vers le bas ensuite, tirez la porte pour l'ouvrir.
Votre coffre est prêt pour être fixé au sol, pour cela veuillez suivre les
instructions ci-dessous.
MODE D'EMPLOI DE FIXATION AU SOL DS2500
MODEL
A
DS2501
123
DS2502
123
DS2503
180
CHOISIR UN ENDROIT POUR INSTALLER VOTRE
COFFRE-FORT
1. Cherchez un endroit qui ne limite pas l'accès et l'ouverture de la porte.
2. Assurez-vous que le sol soit de niveau.
3. Pour de meilleurs résultats, un sol en béton est préférable.
PERÇAGE & BOULAGE
1. Manœuvrez le coffre-fort dans la position requise. Maintenant, avec le
crayon marquez le sol autour du coffre-fort
2. Ouvrez la porte du coffre.
3. À l'aide du crayon, marquez les positions sur le sol pour percer au
travers des trous de la base du coffre-fort.
4. Déplacez le coffre-fort d'un côté, vous donnant accès aux marques
sur le sol.
5. Avant d'utiliser le mèche. Avec la règle mesurez 60mm de la pointe de
la mèche et mettre un morceau de ruban adhésif autour du bout pour
vous assurer de ne pas percer trop profondément.
6. Percez les trous de 12 mm dans le sol jusqu'à ce que vous atteigniez
votre marqueur de 60 mm.
7. Nettoyez le sol autour des trous.
8. Vos boulons sont en 3 parties . Une vis . Un manchon d'expansion en
plastique. Une rondelle en acier .
9. Insérez les manchons d'expansion en plastique dans les trous percés.
10. Remettre le coffre-fort en place, insérez les vis , y compris les ron-
delles, à travers la base du coffre-fort, dans le sol et serrez jusqu'à ce
que vous ne puissiez plus les serrer.
VOTRE COFFRE-FORT EST MAINTENANT FIXE AU SOL.
SÉCURISER LA BOITE POUR DONNEES DANS LE
COFFRE
En utilisant les 2 bandes adhésives fournies, fixez-les à l'arrière de la
Databox. Placez la boîte dans le fond du coffre-fort, en l'apposant sur le
mur arrière.
where peace mind is guaranteed
B
C
D
143
149
131
143
149
131
180
220
180
V1 MAY 2018
Werbung

Verwandte Anleitungen für Phoenix DS2500K Serie


Inhaltszusammenfassung für Phoenix DS2500K Serie
- Seite 1 DS2500K INSTRUCTIONS & GUARANTEE REGISTRATION FRENCH Thank you for purchasing a Phoenix Safe. Nous vous remercions pour l’achat d’un coffre Phoenix Safe. OPENING SAFE OUVERTURE DU COFFRE Please insert one of the two keys supplied into the key hole and turn clockwise.
- Seite 2 DS2500K INSTRUCTIONS & GUARANTEE REGISTRATION GERMAN ITALIAN Vielen Dank, dass Sie sich für einen Tresor aus dem Hause Phoenix Grazie per aver acquistato una Cassaforte Phoenix. entschieden haben. APRIRE LA CASSAFORTE ÖFFNEN DES SAFES Inserire nella serratura una delle due chiavi in dotazione e girare in senso Einen der beiden mitgelieferten Schlüssel in das Schlüsselloch stecken...
- Seite 3 DS2500K INSTRUCTIONS & GUARANTEE REGISTRATION SPANISH Gracias por adquirir una caja fuerte Phoenix. GUARANTEE REGISTRATION Please submit your guarantee registration by visiting our website PARA ABRIR LA CAJA www.phoenixsafe.com and clicking on guarantee registration. For further assistance or information Introduzca una de las llaves suministradas en el agujero de la cerradura please contact us on 0151 944 6444.