EVOKO LISO Montageanleitung
Room manager
Verfügbare Sprachen
Verfügbare Sprachen
Quicklinks
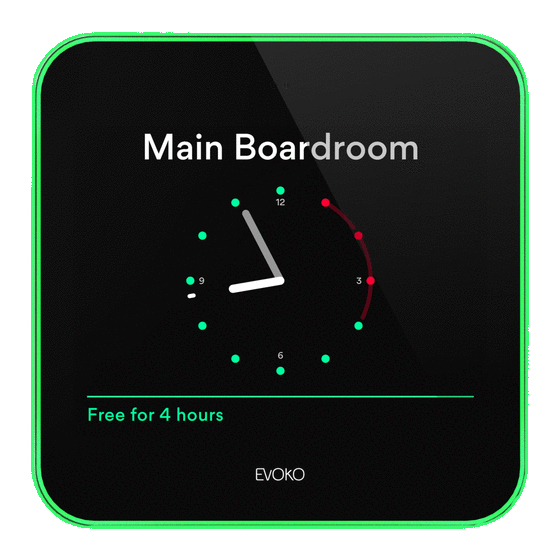
EVOKO LISO
The next generation Room Manager
Mounting instructions
DE EVOKO LISO. Die nächste Generation Room Manager. Montageanleitung.
ES EVOKO LISO. La próxima generación de Room Manager. Instrucciones para el montaje .
FR EVOKO LISO. The next generation Room Manager. Instructions de montage.
IT EVOKO LISO. La nuova generazione di Room Manager. Istruzioni di montaggio.
PT EVOKO LISO. O Room Manager de próxima geração. Instruções de montagem.
RU EVOKO LISO. Новое поколение Room Manager. Инструкции по установке.

Inhaltszusammenfassung für EVOKO LISO
-
Seite 2: Safety Instructions
Save all warnings and instructions for future reference. A correct mounting is extremely important and this is not the responsibility of Evoko. Faulty mounting may result in injury to persons or damage to equipment. Evoko will not be responsible in any way if the product has been mounted incorrectly. - Seite 5 5. Montieren Sie das Gerät am Winkel, indem Sie die Krallen auf der Rückseite in die Löcher am Gerät führen und dieses anschließend vorsichtig im Uhrzeigersinn drehen, bis es in der richtigen Position einrastet. Sichern Sie die Montage mit der Sicherheitsschraube. Für die aktuellsten Anleitungen gehen Sie auf: www.evoko.se/downloads...
- Seite 6 8. Montieren Sie das Gerät am Winkel, indem Sie die Krallen auf der Rückseite mit den Löchern am Gerät führend und dieses vorsichtig im Uhrzeigersinn drehen, bis es in der richtigen Position einrastet. Sichern Sie die Montage mit der Sicherheitsschraube. WICHTIG! Für weitere Informationen zur Für die aktuellsten Anleitungen gehen Sie auf: www.evoko.se/downloads Haftfolie (3M) gehen Sie auf: www.evoko.se/downloads...
- Seite 17 EN Product support: Congratulation to your purchase! For any questions about the product, please visit our product support. Enjoy your new device! www.evoko.se/support DE Produktsupport: Herzlichen Glückwunsch zum Kauf Ihres Evoko Liso Room Manager! Bei Fragen zum Produkt wenden Sie sich bitte an unseren Produktsupport. Viel Freude mit Ihrem neuen Gerät! www.evoko.se/support ES Soporte técnico: ¡Lo felicitamos por su compra! En caso de dudas o preguntas acerca del producto, no dude en visitarnos en...