Lindy 43166 Benutzerhandbuch
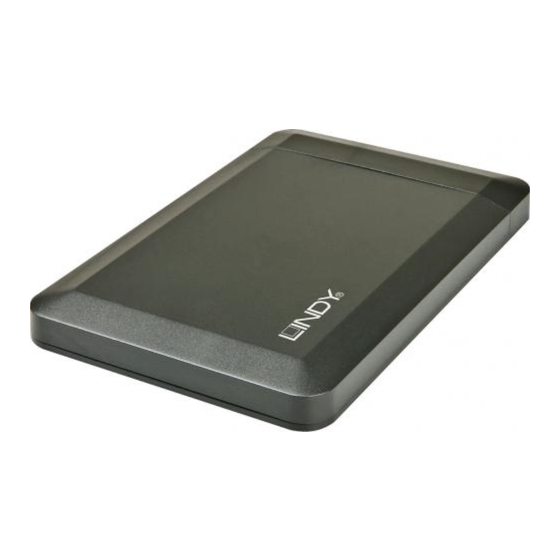
Usb 3.0 & esata hard drive enclosure
USB 3.0 & eSATA
Hard Drive Enclosure
User Manual
Benutzerhandbuch
Manuel Utilisateur
Manuale
LINDY No. 43166
For Home and Office Use
www.lindy.com
Tested to Comply with FCC Standards
LINDY© - First Edition (DEC 2014)
English Manual
Installation
Slide open the housing and place the HDD in the disk tray so
the SATA connector fits into the backplane. Then close the
housing by pushing the top and bottom part back to the original
position again.
Operation
If you want to use the eSATA port for data transfer, make sure
to connect the eSATA cable to the computer first, and then
connect
the
USB
English
incompatibilities issues may occur.
Deutsch
Français
Italiano
Power Requirement
USB 3.0 2.5" drive enclosures can normally be powered from a
single USB 3.0 root port, as it provides up to 900mA.
If your HDD requires higher current (see HDD label) or if you
want to connect this enclosure to USB 2.0 ports the additional
power connector on the supplied USB cable must be connected
to a second USB root port (or to a USB power supply)
Driver Installation
Modern operating systems such as Windows 8/7/Vista/XP
already include the necessary drivers.
LED Indicator
The LED indicator illuminates solid blue when the hard drive is
connected and powered. The LED flashes during data transfer.
Do not disconnect the enclosure whilst the LED is flashing!
HDD Partitioning
If you use a brand new hard drive it may not be formatted or
have a partition and so your operating system will not show a
drive letter. Use the partitioning program from your operating
system (FDISK or similar).
In Windows, Right click on My Computer and select Manage.
Then click Disk Management. On the bottom right side the new
drive should now be shown without a drive letter. Right click on
the grey field to the left of the drive and select Initialize Disk.
Once completed, you can right click on the new drive, choose to
format it and change drive letters according to your
requirements.
Find more information on this topic from the HELP section of
your operating system.
3.0
cable
for
power.
Otherwise
Deutsches Benutzerhandbuch
Installation
Ziehen Sie den Einschub des Gehäuses heraus und legen Sie
die Festplatte so in den Festplattenträger, so dass sie sicher
mit dem SATA-Anschluss verbunden ist. Schieben Sie nun
den Einschub zurück ins Gehäuse.
Betrieb – Handhabung
Wenn Sie die eSATA-Schittstelle für den Datentransfer
verwenden möchten, achten Sie darauf, dass sie zuerst das
eSATA-Kabel an den Computer anschließen und erst danach
das USB 3.0-Kabel zur Stromversorgung. Ansonsten kann es
zu Imkompatibilitäten mit den Datenträger kommen.
Stromversorgung
USB 3.0 2,5" Festplatten können in der Regel über einen USB
3.0 Anschluss mit Strom versorgt werden. Er stellt 900mA zur
Verfügung.
Falls Ihre Festplatte mehr Strom benötigt oder wenn Sie das
Gehäuse an einen USB 2.0 Port anschließen wollen müssen
Sie den zweiten USB A Stromstecker des mitgelieferten
Kabels in eine weitere USB Buchse (oder in ein USB Netzteil)
einstecken.
Treiberinstallation
Moderne Betriebssysteme wie Windows 8/7/Vista/XP haben
bereits alle notwendigen Treiber an Board.
Anzeige-LED
Die Anzeige-LED leuchtet sobald das Gehäuse angeschlos-
sen und mit Strom versorgt ist. Sie blinkt während eines
Datentransfers. Ziehen Sie nie die Stecker während die LED
noch blinkt!
Partitionierung der Festplatte
Wenn Sie eine brandneue Festplatte anschließen ist diese
höchstwahrscheinlich nicht partitioniert und Ihr Betriebssystem
wird kein Laufwerk anzeigen! Verwenden Sie das Partitionie-
rungsprogramm Ihres Betriebssystems. Unter Windows XP
wählen Sie das Programm Verwaltung nach Rechtsklick auf
Arbeitsplatz. Wählen Sie Datenträgerverwaltung. Unten
rechts sollten Sie nun die neue Platte angezeigt bekommen.
Nach Rechtsklick in den grauen Bereich links neben der
neuen Platte wählen Sie Initialisieren. Im Anschluss können
Sie nach Rechtsklick auf die Platte selbst diese nach Ihren
Bedürfnissen formatieren und Laufwerksbuchstaben ändern.
Weitergehende Informationen hierzu finden Sie im
Hilfesystem Ihres Betriebssystem oder wenden Sie sich an
einen erfahrenen PC-Techniker.

Verwandte Anleitungen für Lindy 43166


Inhaltszusammenfassung für Lindy 43166
- Seite 1 Find more information on this topic from the HELP section of Hilfesystem Ihres Betriebssystem oder wenden Sie sich an your operating system. einen erfahrenen PC-Techniker. For Home and Office Use www.lindy.com Tested to Comply with FCC Standards LINDY© - First Edition (DEC 2014)
- Seite 2 LINDY Herstellergarantie – Hinweis für Kunden in Deutschland Pour Windows, faites un clic droit sur Ordinateur et del Computer e selezionare Gestione. Quindi cliccate su LINDY gewährt für dieses Produkt über die gesetzliche Regelung in Deutschland hinaus sélectionnez Gérer. Cliquez ensuite sur Gestion des disques. Gestione Disco.