Seite 1
MONTAGE- UND BEDIENUNGSANLEITUNG INSTALLATION AND OPERATING INSTRUCTIONS INSTRUCTIONS DE MONTAGE ET MODE D’EMPLOI STREAM STREAM LIDO / LIDO 2...
Der Steuerkasten sollte entweder in einem trockenen Umgang oder in einem angrenzenden Raum, möglichtst höher als der Wasserspiegel untergebracht sein. Die uwe JETSTREAM TREVI-Modelle sind eine Sonderform zur nachträglichen Ausrüstung eines Schwimmbades. Diese TREVI-Modelle werden an den Beckenrand geschraubt, und sind nicht als Startblock zu benutzen.
Seite 4
Vor jeder Inbetriebnahme sind die örtlichen Sicherheitsbestimmungen sowie die Sicherheitshinweise einzuhalten. Ist das Gerät komplett montiert und elektrisch angeschlossen, kann das Gerät in Betrieb genommen werden. Bevor Sie die uwe JETSTREAM Anlage in Betrieb nehmen, drehen Sie den Motor am Lüfterrad von Hand mehrmals durch.
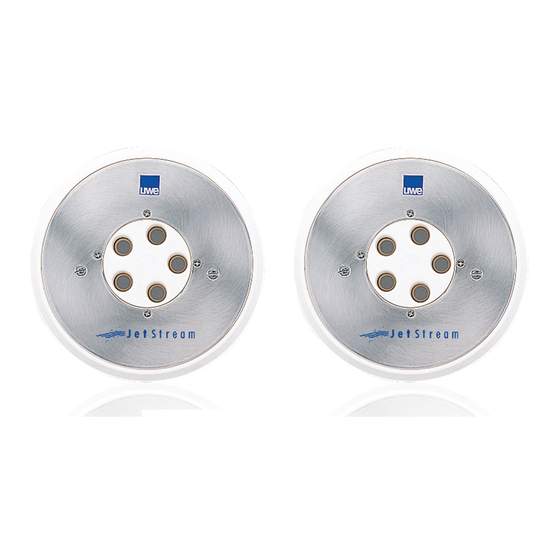
Seite 5
Einsetzen der Rohbauteile in die Schalung • Montage (Bild 1 Ausführung Rotguss) Schrauben Sie das Düsenmantelgehäuse so in die Schalung, dass das rote Schild mit Text „oben“ nach oben zeigt, der angegossene Nocken oben liegt und der Stopfen 2” nach unten zeigt. Warnung Bauen Sie bei dem Gerätetyp LIDO2 das zweite Düsen-Rohbauteil in einem seitlichen Abstand von 1,5 m ein.
Seite 6
Einsetzen der Rohbauteile in die Schalung • Montage (Bild 1a Ausführung ABS) Schrauben Sie das Düsenmantelgehäuse so in die Schalung, dass das rote Schild mit Text „oben“ nach oben zeigt, der angegossene Nocken oben liegt und der Stopfen 2” nach unten zeigt. Warnung Bauen Sie bei dem Gerätetyp LIDO2 das zweite Düsen-Rohbauteil in einem seitlichen Abstand von 1,5 m ein.
Seite 7
Wasserspiegel Becken- wand Düsenmantel- Das Rohbauteil der zweiten gehäuse Düse (LIDO2) in einem Abstand für Düse von 1,5 m einbauen Klemmrahmen Stopfen 2“ Dichtung Senkschraube M 6 x 30 45° Klemmrahmen Saugrohr Ø 0,7 Dichtung Düsenmantelgehäuse Senkschraube M 6 x 30 Maße in cm Wasserspiegel Beckenwand...
Die Sicherheitshinweise müssen vor der Aufstellung aufmerksam gelesen werden. Halten Sie unbedingt die Anforderungen der Fa. uwe bzw. der Normgeber ein. Für den Fall, dass die Hinweise nicht berücksichtigt werden, geschieht dies in der alleinigen Verantwortung des Monteurs. Jegliche Haftung des Herstellers entfällt somit.
Seite 10
Länge gebracht haben, auf das freie Ende des T-Stückes (50) am Steuerkasten (51). LIDO, LIDO 2, Montage Pumpe, Saug- und Druckschläuche (Bild 6a Ausführung ABS LIDO, Bild 7a Ausführung ABS LIDO2) Die Pumpe sollte tiefer als der Wasserspiegel angebracht werden. Setzen Sie die Pumpe entweder mit einem Schwingmetall (Stossdämpfer) auf die Konsole oder, wenn Sie einen Sockel betonieren möchten, unterbauen Sie diesen entsprechend.
Before installation and setting into operation, the Safety Instructions and the Operating Instructions must be carefully read and observed. You must definitely comply with the requirements of the uwe company and of the standards authorities. 1.2 Setting the Unit into Operation for the First Time Before the unit is set into operation, the local safety regulations and the Safety Instructions must always be complied with.
Seite 13
Locate the pneumatic switch housing in a convenient position 15-20 cm below water level. If the JETSTREAM LIDO is to be fitted with two jets, the second component should be located at a lateral distance approximately 1.5 m from the first.
Seite 14
Locate the pneumatic switch housing in a convenient position 15-20 cm below water level. If the JETSTREAM LIDO is to be fitted with two jets, the second component should be located at a lateral distance approximately 1.5 m from the first.
Seite 15
water level pool wall nozzle housing clamping frame stopper 2“ gasket screw M 6 x 30 45° Clampingframe suction tube Ø 0,7 gasket suction housing screw M 6 x 30 dimensions in cm Water level pool wall use clamping frame for 22,5°...
Seite 16
Before installation The safety instructions must be read carefully before installation. You must definitely fulfil the requirements stated by the uwe company and by the standard authorities. If the instructions are not observed, the installation engineer shall bear the sole respon- sibility.
Seite 18
Insert countersunk screws (16) without over tightening. Installing the air inlet fittings (picture number 6a LIDO and number 7a LIDO 2 red bronze version and ABS version) It is advisable to make provision for protecting the pneumatic tube (PVC 2/4 Dia.) and air inlet tube(s) (PVC 12/21 Dia.) by placing in protective conduit or through adjacent cable/ ventilation ducts.
à 30 mA. 2. Le local technique de l’appareil JetStream LIDO doit être hors du volume de protection du bassin (soit à plus de 2,50 m, soit sous Ia plage). Le couvercle doit s’ouvrir à l’aide d’une clé ou d’un outil être équipé d’un système de coupure électrique des éléments actifs à...
Seite 21
2 MISE EN SERVICE INFORMATIONS DESTINÉES À L’UTILISATEUR 2.1 Avant la mise en service Les instructions de sécurité et le mode d’emploi doivent être lus attentivement avant l’installation et la mise en service de l’appareil. 2.2 Première mise en service de l’appareil Il est impératif d’observer les prescriptions locales de sécurité...
Seite 22
• Montage (image numéro 1a exécution en ABS) Procéder comme montré dans fig. 1 Attention Monter les pièces à sceller à surface plane avec la paroi de béton. Retirer la protection seulement avant la pose des carrelages. Si le bassin reçoit pour un revêtement liner des plaques d’enduit et d’isolation, il faut avancer le boîtier de la pièce à sceller de l’épaisseur de ces plaques.
Seite 23
niveau d’eau paroi pièce à sceller cadre de serrage joint vis M 6 x 30 45° cadre de serrage tube aspiration Ø 0,7 joint pièce à sceller vis M 6 x 30 mesure en cm niveau d’eau paroi La coupure et les trous 22,5°...
Seite 24
à l’aide d’une console rigide ou réglable livrable par UWE. La console rigide doit être chevilée à la paroi extérieure du bassin; si c’est une console réglable, elle doit être fixée sur le sol du pourtour.
Seite 26
Plus le tuyau d’aspiration d’air est court, plus la r‚sistance est faible, vous gagnez ainsi un plus grand débit d’air. Montaje de la bomba, del tubo de aspiración y del tubo de presión (imagen 6a LIDO en 7a LIDO 2 ejecución en ABS) La bomba se debe instalar debajo del nivel de agua.