Inhaltsverzeichnis
Werbung
Verfügbare Sprachen
Verfügbare Sprachen
Quicklinks
Werbung
Kapitel
Inhaltsverzeichnis

Inhaltszusammenfassung für Brutus BX1500D MKII
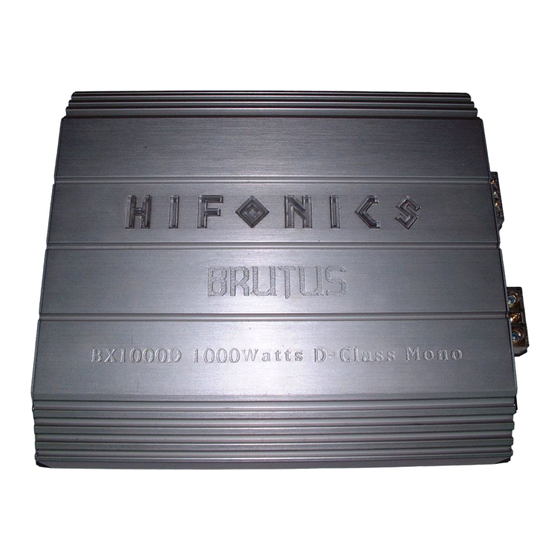
- Seite 1 BX1500D • BX1000D MK II MK II BX750 A/B-CLASS BEDIENUNGSANLEITUNG OWNER’S MANUAL...
-
Seite 2: Inhaltsverzeichnis
BEDIENUNGSANLEITUNG Wir freuen uns, dass Sie ein Gerät aus der HIFONICS BRUTUS - Baureihe ausgewählt haben. Bevor Sie die Installation beginnen, lesen Sie bitte die Einbauanleitung genau durch. Optimaler Einbau und korrekter Anschluss wird hervorragende Wiedergabequalität und einwandfreie Funktion über viele Jahre hinweg garantieren. -
Seite 3: Installationshinweise, Einbau Des Verstärkers
Installationshinweise Achten Sie bei der Installation darauf, dass keine serienmäßig im Kfz vorhandenen Teile wie z.B. Kabel, Bordcomputer, Sicherheitsgurte, Tank oder ähnliche Teile beschädigt bzw. entfernt werden. Vergewissern Sie sich, dass der Verstärker an dem Montageort genügend Kühlung erhält. Montieren Sie das Gerät nicht in zu kleine, abgeschlossene Gehäuse ohne Luftzirkulation, nicht in der Nähe von wärmeabstrahlenden Teilen oder elektronischen Steuerungen des Fahrzeuges. -
Seite 4: Funktionen Und Bedienelemente
Verstärker Funktionen und Bedienelemente BX 750 / BX 1000D MKII / BX 1500D MKII LOW PASS/SUB SONIC - Regler LOW PASS (Tiefpass) - regelt die Begrenzung des Frequenzgangs der Lautsprecher nach oben. Die Trennfrequenz ist stufenlos von 35Hz bis 250Hz regelbar. SUB SONIC - Der Subsonic-Filter erlaubt es den Subwoofer von ultratiefen Frequenzen abzutrennen, damit dieser nicht mechanisch bzw. -
Seite 5: Lautsprecher Und Cinchanschluss
Verstärker Lautsprecher und Cinchanschluss BX 750 / BX 1000D MKII / BX 1500D MKII Kabelanschlüsse • Verbinden Sie die Ausgänge des Steuergerätes (Radio) mit den Cincheingängen (LINE INPUT) des Verstärkers mittels einer Cinchleitung. • Verbinden Sie den/die Subwoofer mittels geeigneten Kabel mit den Lautsprecher-Ausgängen (SPEAKER OUTPUT/ + -) des Verstärkers. -
Seite 6: Fehlerbehebung
Fehlerbehebung Fehler: keine Funktion Ursache: 1. Die Verbindungskabel sind nicht korrekt angeschlossen. 2. Die Kabel haben keinen elektrischen und mechanischen Kontakt. 3. Sicherungen defekt. Im Falle des Austauschs achten Sie bitte auf den korrekten Wert der Sicherungen. Fehler: kein Ton aus Lautsprecher Ursache: 1.