Werbung
Quicklinks
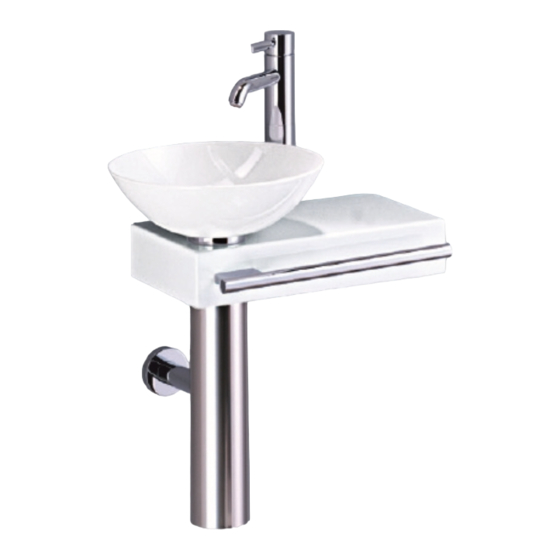
Montageanleitung Waschplätze
Installation instructions washplaces
WP.PI1
WP.PI2
6a
6
1
4
3
2
7a
7
8a
8
10/ 11
6b
6c
9
WP.PI3
5
12
15
13
16
14
WP.PI4
1. Stülpdichtung (1) im Ablaufloch des
Schalenbeckens (4) einsetzen. Unterleg-
scheibe (2), Konsolring (3) und Schalenbecken
auf Konsole (5) aufsetzen und durch Montage
des Schaftventils (6, 6a - c), des Ablauf-
Zwischenstücks (7, 7a) und der Halterung für
die Siphonverkleidung (8, 8a) auf der Konsole
fixieren. Becken während der Montage
ausrichten.
Instal sealing (1) on the drain hole of the
dish basin (4). Place console ring (3), washer
(2) and basin on console (5) and secure them
to it by fitting shaft valve (6, 6a - c), drain
adapter (7, 7a) and the bracket for the siphon
cover (8, 8a). Align basin as these items are
assembled.
2. Waschplatzanlage umdrehen und vorsichtig auf
das Schalenbecken stellen. Die mitgelieferte
Tauchrohrverlängerung und einen Flaschen-
siphon (nicht im Lieferumfang enthalten) am
Schaftventil montieren.
Rotate wash place system and carefully place
on the dish basin. Fit the suction pipe
extension provided and a bottle siphon (not
provided) onto the shaft valve.
3. Siphonverkleidung (9) mit den mitgelieferten
Unterlegscheiben (10) und Schrauben (11) an
der Halterung befestigen.
Using the washers (10) and screws (11)
provided, secure siphon cover (9) to the
bracket.
4. 3 Dübellöcher für Stockschrauben in die Wand
bohren. Montage- und Anschlussmaße beachten,
s. Rückseite. Dübel (12) und Stockschrauben
(13) einsetzen.
Bore 3 holes for dowels into the wall – see rear
side for mounting and connection measurements.
Insert dowels (12) and wood-to-metal dowels
(13).
5. Abgangsrohr, bzw. Ablaufbogen (nicht im
Lieferumfang enthalten) in Wandabfluss stecken.
Push waste pipe or drain pipe elbow (not
provided) into the wall outlet.
6. Waschplatz mit Mutter (14) und Unterlegscheiben
(15, 16) an der Wand befestigen.
Secure washplace to wall with nuts (14) and flat
washers (15, 16).
951420/080725
Werbung

Verwandte Anleitungen für Alape WP.PI3


Inhaltszusammenfassung für Alape WP.PI3
- Seite 1 Montageanleitung Waschplätze Installation instructions washplaces WP.PI1 WP.PI2 WP.PI3 WP.PI4 1. Stülpdichtung (1) im Ablaufloch des Schalenbeckens (4) einsetzen. Unterleg- scheibe (2), Konsolring (3) und Schalenbecken auf Konsole (5) aufsetzen und durch Montage des Schaftventils (6, 6a - c), des Ablauf- Zwischenstücks (7, 7a) und der Halterung für...
- Seite 2 Abfluß und Eckventilen muss in der Höhe mind. 50 mm betragen. The distance between drain section and angle valves has to be 50mm in height as minimum. WP.PI3 WP.PI4 951420/080725 * OKFF = Oberkante fertiger Fußboden/ Finished floor level (FFL)