Herunterladen Inhalt Inhalt Diese Seite drucken

Werbung

Verfügbare Sprachen

Verfügbare Sprachen

RVC 1
®

Werbung

Inhaltsverzeichnis
loading

Inhaltszusammenfassung für Audiovox RVC1

  • Seite 1 RVC 1 ®...
  • Seite 2: Montage

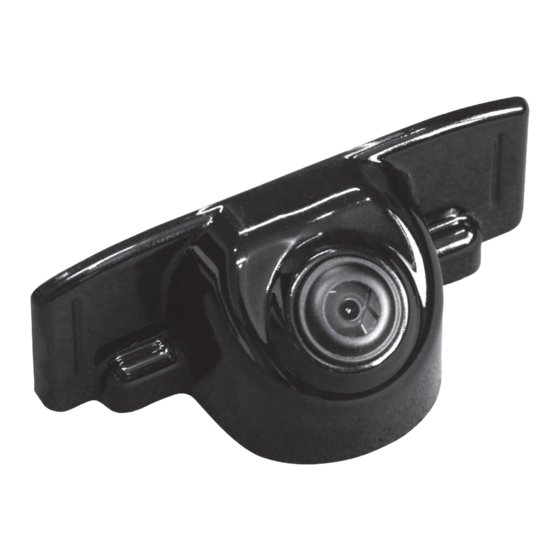
    MONTAGEANWEISUNGEN AV-Kabel REVERSE-Anschluss des Receivers/Monitors Stromversorgung der Rückfahrleuchte Folgen Sie zur Montage der Kamera den Anweisungen. A. Montieren Sie die Kamera neben der Nummernschildbe- leuchtung und schließen Sie die Kamera am Stromanschluss der Rückfahrleuchte an. B. Verlegen Sie das Kamerakabel entlang der roten Linie wie in Abbildung (1) dargestellt zum Monitor der Mittelkonsole.
  • Seite 3 2. Reinigen Sie vor der Montage den Untergrund, auf den die Kamera montiert werden soll 3. Bohren Sie ein Loch in das Gehäuse der Leuchte über dem Nummernschild und führen Sie das Kabel durch dieses Loch. 4. Nehmen Sie den Schutzstreifen des Klebebands, das sich auf der Rückseite der Kamera befindet.
  • Seite 4: Installation Instructions

    INSTALLATION INSTRUCTIONS AV cable Reverse drive wire Back-up light power supply Please follow the instructions to install the camera. A. Install the camera in the close to the license plate lamp, connect to the reverse power wire. B. Please install the camera cable along the red line as shown on the picture (1.) to the center console monitor.
  • Seite 5 2. Before installing please clean the surface where camera is to be positioned 3. Drill a hole in the lamp ca- sing above the license plate and run the camera cable through it. 4. Remove the protective side of the adhesive tape on the back of the camera.
  • Seite 6: Instructions D'installation

    INSTRUCTIONS D‘INSTALLATION Câble AV Connexion de l‘écran à la marche arrière Alimentation du feu de recul Respectez les instructions d‘installation de la caméra. A. Installez la caméra près du feu de plaque d‘immatricu- lation, et branchez sur le fil d‘alimentation de feu de recul. B.
  • Seite 7 2. Avant l‘installation, nettoyez la sur- face d‘installation de la caméra. 3. Percez un trou dans le boîtier de lampe au-dessus de la plaque d‘immatriculation et faites-y passer le câble de la caméra. 4. Retirez le côté protecteur de la bande adhésive à l‘arrière de la caméra.
  • Seite 8: Instrucciones De Instalación

    INSTRUCCIONES DE INSTALACIÓN Cable AV Cable de detección de marcha atrás Fuente de alimentación de la lámpara de marcha atrás Siga las instrucciones descritas a continuación para instalar la cámara. A. Instale la cámara cerca de la lámpara de la matrícula y conéctela al cable de alimentación de la lámpara de marcha atrás.
  • Seite 9 2. Antes de llevar a cabo la instalación, limpie la superficie en la que desee situar la cámara. 3. Taladre un orificio en la car- casa de la lámpara (sobre la matrícula) y pase el cable de la cámara a través de él. 4.
  • Seite 10 Wir gratulieren Ihnen! Durch Ihre kluge Wahl sind Sie Besitzer eines AUDIOVOX Produktes geworden. AUDIOVOX Produkte erfreuen sich aufgrund der hohen Qualität eines ausgezeichneten Rufes weltweit. Dieser hohe Quali- tätsstandard ermöglicht es für AUDIOVOX Mobile Video-Produkte 2 Jahre Garantie zu gewähren. Die Produkte werden während des gesamten Fertigungsvorganges laufend kon- trolliert und geprüft.
  • Seite 11 AUDIOVOX equipment. Due to high quality AUDIOVOX products have earned an excellent reputation through the western world. And this high quality standard enables us to grant a 2-years warranty for AUDIOVOX Mobile Video products. The equipments are checked and tested continously during the entire produc- tion process.
  • Seite 12 Toutes nos félicitations! Vouz avez bien choisi et êtes le propriétaire heu- reux d’un produit AUDIOVOX. Les produits AUDIOVOX ont une excellente ré- putation pour leur bonne qualité. Pour cette raison, nous accordons 2 ans de garantie sur les produits AUDIOVOX.
  • Seite 16 ® Audiovox Audio Produkte GmbH Lise-Meitner-Str. 9 • D-50259 Pulheim • Germany Tel. +49 (0) 2234 807-0 • Fax +49 (0) 2234 807-399 www.audiovox-germany.de...

Inhaltsverzeichnis