Karlsson big flip Bedienungsanleitung
Verfügbare Sprachen
Verfügbare Sprachen
Quicklinks
C.Adjustment of automatic calendar:
1.turn off the system power. Adjust the calendar in the following
sequences: AM/PM, WEEK, DAY and MONTH.
2.at the turn of PM, there will be a stand-by signal.
3.at the turn of AM, the date is moved forward one day.
4.adjust the week, day and month next, in that order, by turning
the knobs anti-clockwise.
5.turn on the system power after completing the adjustment
6.on February 29 of the leap year, turn off the power system.
Apply manual adjustment to the calendar to show FEB.29. Turn
on the power the next day, March 1. The automatic system will
resume function.
7.to test the automatic calendar system, follow diagram C, with
system power turned "ON".
Patent numbers
USA
4694597, 5274616
UK
2181279, 2266977
CHINA
38201, 54537, 136997
TAIWAN 31158, 31158-1, 31158-2, 74085
KOREA 96412
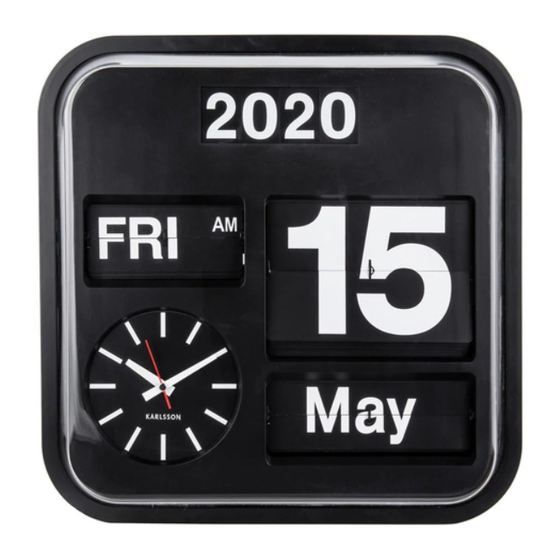
INSTRUCTION MANUAL
big
flip
Please read this manual carefully before using the calendar clock.
NOTE:
1.if the calendar component sheets ever slip off the wheels, follow
the two simple steps of repair:
a.open the unit case by unscrewing the five screws; and
b.put the loosen sheet(s) back to the wheel holes.
2.DO not use corrosive solution for cleaning any surface of the
unit. Instead use alcohol, tooth paste, soap, or detergent for
cleaning.
3.keep the unit from heating duct, fire place, wet areas or direct
sunlight exposure.
4.do not drop the unit and avoid heavy impacts.

Verwandte Anleitungen für Karlsson big flip


Inhaltszusammenfassung für Karlsson big flip
- Seite 5 BEDIENUNGSANLEITUNG C.Einstellen des automatischen Kalenders: 1.stellen Sie die Batteriestromzuführung ab. Stellen Sie den Kalender in den folgenden Sequenzen ein: AM/PM, Woche, Tag und Monat. 2.auf der PM Stellung ertönt ein Stand-by Signal. 3.auf der AM Stellung wird der Tag um eine Stelle verschoben. 4.durch drehen des Knopfes gegen die Uhrzeigerrichtung kann die flip Woche, der Tag, und der Monat verstellt werden.
- Seite 6 A.Netzanschluss - Funktion: B.Uhr Einstellen: (genau wie jede andere Standarduhr) Installieren Sie zwei “D” Batterien und eine “AA” Batterie auf der Rückseite. Bitte achten Sie auf korrekte Polarität der Batterien. 1.drehe den Schalter“ON-OFF”auf“ON”. 2.drehe im Uhrzeigersinn den Uhr Knopf bis die richtige Zeit Die Batterie läuft ca.