Clou Flush 3 CL/03.03033 Montageanweisungen
Vorschau ausblenden
Andere Handbücher für Flush 3 CL/03.03033:
- Montageanweisungen (12 Seiten) ,
- Montageanweisungen (16 Seiten)

Verwandte Anleitungen für Clou Flush 3 CL/03.03033

Inhaltszusammenfassung für Clou Flush 3 CL/03.03033
- Seite 1 Flush 3 ceramics with tap hole CL/03.03033 Montage instructies Installation instructions Notice de montage Montageanweisungen REV 02 08.12.2020...
- Seite 2 - Clou b.v. can not be held responsible for - Clou b.v. kan niet verantwoordelijk worden the results of improper use, improper gesteld voor de gevolgen van onaangepast...
- Seite 3 éventuellement Für andere Wände ist die verwendeten consolider le mur si nécessaire. regelnmittel an eigener Verantwortlichkeit, - Clou se réserve le droit pour tout und die Wand konnte Verstärkung changement technique ou optique par benötigen. rapport à la photo représentant le produit.
- Seite 4 Gegenstände auf das Produkt passend ist. Gebruiksvoorschriften: zie ook de onderhoudsvoorschriften op www.clou.nl User’s instructions: See also the maintenance guides at www.clou.nl max. Instructions d’utilisation: Voyer aussi les instructions de maintenance sur www.clou.nl 15 kg Gebrauchsanweisungen: Sehen Sie auch die Wartungsanweisungen am www.clou.nl...
- Seite 5 42,50...
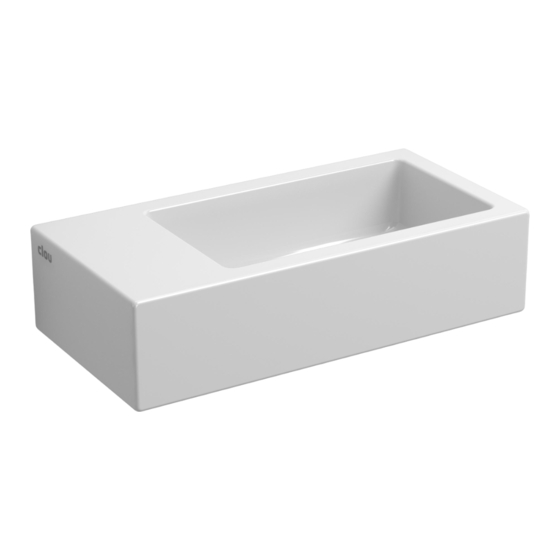
- Seite 6 flush 3_wash-hand basin without tap hole CL/03.03033 norm. 660 max. 735 min. 510 Dimensions in mm, for reference only / 27.05.2011 / rev_01...
- Seite 7 230 mm Duidt met potlood en waterpas de middellijn van de fontein aan. Mark with pencil and level the centreline of the wash-hand basin. Marquer avec un crayon et avec un niveau la ligne de centre du lave-mains. Markieren Sie mit einem Bleistift und mithilfe der Wasserwaage die Mittellinie des Handwaschbecken.
- Seite 8 Duidt met potlood de plaatsen aan waar u gaten moet boren. 85 mm 185 mm Mark with pencil the spots to drill holes. Marquer avec un crayon les endroits de perçage des trous. Markieren Sie mit einem Blei- stift die Stellen, an denen Lö- cher gebohrt werden müssen.
- Seite 9 Steek de pluggen in de gaten en schroef de stokschroef in de rechtse plug, bevestig de beugel met de schroef. Insert the dowels in the holes and screw the dowel screw in the dowel on the right, also fix the bracket with the screw.
- Seite 10 Bevestig de kraan (niet inbegrepen) aan de wand en sluit deze aan op de waterlei- ding. Mount the tap (not included) on the wall and connect it to the water supply. Fixer le robinet (non inclus) sur le mur et le raccorder à la conduite d’eau.
- Seite 11 Bevestig de sifon (niet inbegrepen) aan de afvoer en aan de afvoerlei- ding. Attach the trap (not included) to the drain and to the waste pipe. Fixer le siphon (non inclus) à la bonde et à la décharge d’eau. Befestigen Sie den Siphon (nicht im Lieferumfang enthalten) am Ablauf und an der Abflussleitung.
- Seite 12 Clou. Bath findings. Clou bv Thermiekstraat 1 NL-6361 HB Nuth T +31 (0)45 524 56 56 info@clou.nl www.clou.nl Looking for inspiration?