Werbung
Verfügbare Sprachen
Verfügbare Sprachen
Quicklinks
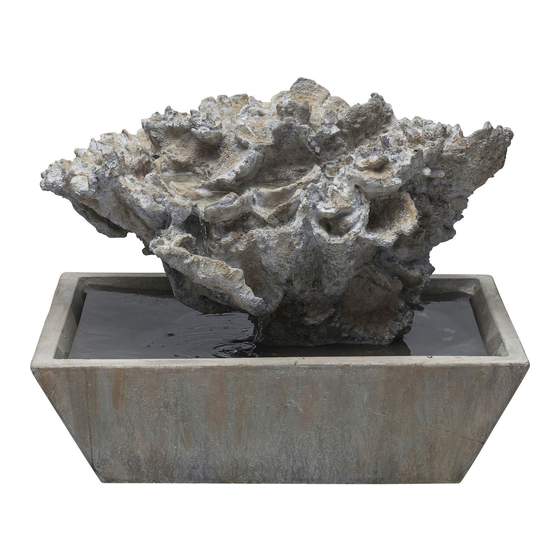
I、Assembly Steps
1. Insert the hose of the top part (A) into the pump
(C), and fix the top part into the base part (B)
correctly. (See PIC 2 )
2. keep the top part steady on the base part.
3. Fill base 1/2 with clean cold water, make sure the
the water cover the pump at least.
4. Connect to power outlet and switch on the power.
5. If the water is stronger or smaller, you can switch
off and adjust the control switch on the hose, then
switch on.
II、Daily Maintenance
1. Keep the water fresh and clean at all times.
2. The water level must be checked every time before
use. The pump should be submergd at all times.
3. If long time no use, pls switch off the power and
empty the water in the base, keep it dry.
III 、Caution:
1. Never use the fountain if the cord is damaged or if
the housing is damaged.
2. Always disconnect the fountain from the electric
power then re-filling the fountain with water.
3. Keep the pump wire from high temperature.
4. Keep out of reach from Children and pets.
5. Pls put the fountain on a steady place when it's
working.
* Packing List
A.
Top Part:1pc
B.
Base Part:1pc
C.
Pump:1pc
Werbung

Inhaltszusammenfassung für KARE design Coral
- Seite 1 I、Assembly Steps 1. Insert the hose of the top part (A) into the pump (C), and fix the top part into the base part (B) correctly. (See PIC 2 ) Top Part:1pc 2. keep the top part steady on the base part. *...
- Seite 2 I、Instructions de montage 1. Liez le tuyeau de la partie supérieure (A) avec la pompe (C) et fixez la partie supérieure (A) à la partie du bas (B) (voir image 2). 2. Posez la partie supérieure stablement sur la partie du bas.
- Seite 3 I、 Montage 1. Stecken Sie das Schlauchstück vom Oberteil (A) in die Pumpe (C) und befestigen Sie das Oberteil (A) am Unterteil (B) (siehe Bild 2). 2. Stellen Sie das Oberteil stabil auf das Unterteil. Oberteil:1pc 3. Befüllen Sie das Becken zur Hälfte mit kaltem, *...