Werbung
Quicklinks
Montageanleitung Waschtische
Installation instructions washstands
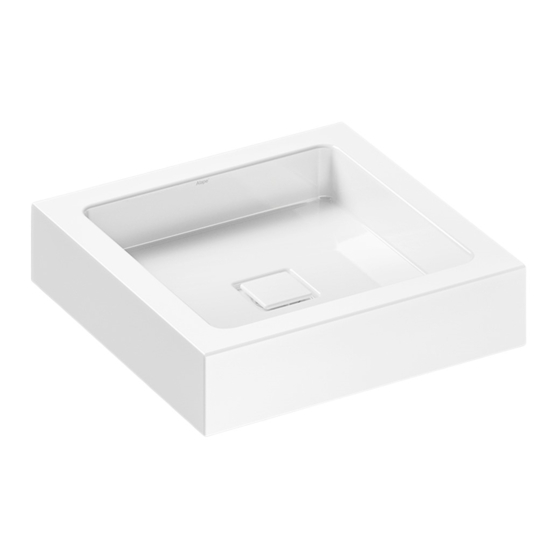
WT.QS325
WT.QS325H
Schaftventil am Waschtisch montieren und mit Hilfe des Montageschlüssels (7) justieren.
Dübellöcher für Stockschrauben in die Wand bohren. Montage- und Anschlussmaße beachten,
(s. Rückseite). Dübel (1) und Stockschrauben (2) einsetzen. Waschtisch mit Mutter (6) und
Unterlegscheiben (3, 4, 5) an der Wand befestigen.
Please mount drain valve on the washstand and adjust drain valve by using the installation
wrench (7).
Drill holes into the wall for the dowels – see reverse for mounting and connection
measurements. Insert dowels (1) and wood-to-metal dowels (2). Secure washstand to wall
with nuts (6) and flat washers (3, 4, 5).
1.
2.
WT.QS450
WT.QS450H
5
6
4
WT.QS525.R
WT.QS525.L
7
1
2
3
WT.QS525H.R
WT.QS525H.L
Armaturenmontage auf
Becken:
Verwendung der
Hahnloch-Unterlegscheibe
ist zwingend erforderlich!
Mounting of the fitting:
Use of the tap hole
washer is compulsory!
951430/080611
Werbung

Verwandte Anleitungen für Alape WT.QS325


Inhaltszusammenfassung für Alape WT.QS325
- Seite 1 Montageanleitung Waschtische Installation instructions washstands WT.QS325 WT.QS450 WT.QS525.R WT.QS525H.R WT.QS325H WT.QS450H WT.QS525.L WT.QS525H.L Schaftventil am Waschtisch montieren und mit Hilfe des Montageschlüssels (7) justieren. Dübellöcher für Stockschrauben in die Wand bohren. Montage- und Anschlussmaße beachten, (s. Rückseite). Dübel (1) und Stockschrauben (2) einsetzen. Waschtisch mit Mutter (6) und Unterlegscheiben (3, 4, 5) an der Wand befestigen.
- Seite 2 Montage- und Anschlussmaße / mounting and connection measurements WT.QS325H WT.QS325 Nr. 4277 000 000 Nr. 4270 000 000 WT.QS450H WT.QS450 Nr. 4276 000 000 Nr. 4275 000 000 WT.QS525H.L WT.QS525H.R Nr. 4279 000 000 Nr. 4280 000 000 WT.QS525.L WT.QS525.R Nr.