Werbung
Quicklinks
All manuals and user guides at all-guides.com
Bedienungsanleitung
Operation Manual
4174
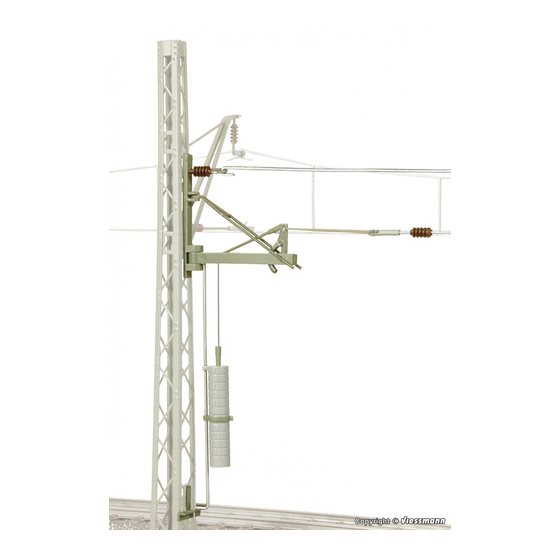
H0 Hebelspannwerk,
einzeln
H0 Tensioning lever,
single
1. Wichtige Hinweise / Important information ........................................................ 2
2. Einbau / Mounting ............................................................................................. 2
Innovation,
die bewegt!
Werbung

Verwandte Anleitungen für Viessmann 4174


Inhaltszusammenfassung für Viessmann 4174
- Seite 1 All manuals and user guides at all-guides.com Bedienungsanleitung Operation Manual 4174 H0 Hebelspannwerk, einzeln H0 Tensioning lever, single 1. Wichtige Hinweise / Important information ............2 2. Einbau / Mounting ..................... 2 Innovation, die bewegt!
-
Seite 2: Sicherheitshinweise
All manuals and user guides at all-guides.com 1. Wichtige Hinweise 1. Important information Bitte lesen Sie vor der ersten Anwendung des Produktes Please read this manual completely and attentively before bzw. dessen Einbau diese Bedienungsanleitung auf- using the product for the first time. Keep this manual. It is merksam durch. - Seite 3 All manuals and user guides at all-guides.com Kürzen Sie dazu die Kunststoffaufnahmen mit Hilfe Shorten the plastic locating parts with a knife or a side eines Messers oder Seitenschneiders an der Nut, die cutter at the notch corresponding to the type of mast dem von Ihnen verwendeten Masttyp und der Position you are using and the position (fig.
- Seite 4 All manuals and user guides at all-guides.com Abb. 5 Abb. 6 Fig. 5 Fig. 6 Abb. 7 Abb. 8 Fig. 7 Fig. 8 Hängen Sie den Befestigungswinkel an der unteren Hook the mounting bracket into the lower plastic locating Kunststoffaufnahme ein (Abb. 9). part (fig.
- Seite 5 All manuals and user guides at all-guides.com Markieren Sie mit Hilfe eines Stiftes oder einer Spitze Mark the position of the screw with a pencil. Then re- die Schraubenpositionen. Anschließend entfernen Sie move the ground socket and pre-drill the determined den Grundträger und bohren mit einem Bohrer mit position with a core of ca.
- Seite 6 All manuals and user guides at all-guides.com Abb. 17 Abb. 18 Fig. 17 Fig. 18 Abb. 19 Abb. 20 Fig. 19 Fig. 20 Ziehen Sie den Ausleger vorsichtig aus dem Mast her- Carefully pull the beam out of the mast (fig. 21). aus (Abb.
- Seite 7 All manuals and user guides at all-guides.com Abb. 23 Abb. 24 Fig. 23 Fig. 24 Stecken Sie die Befestigungsstege des Auslegers in die Insert the bracket into the designated openings of the dafür vorgesehenen Öffnungen des Mastes (Abb. 23). mast (fig. 23). Ziehen Sie den Ausleger vorsichtig nach unten (Abb.
- Seite 8 Artículo para modelismo ¡No es un juguete! No notice d’instructions! recomendado para menores de 14 años! Conserva las instrucciones de servicio! Não é um brinquedo!Não aconselhável para menores de 14 anos. Conservar o manual de instruções. Viessmann Modelltechnik GmbH Bahnhofstraße 2a D - 35116 Hatzfeld-Reddighausen 92056 info@viessmann-modell.com...