Inhaltsverzeichnis
Werbung
Quicklinks
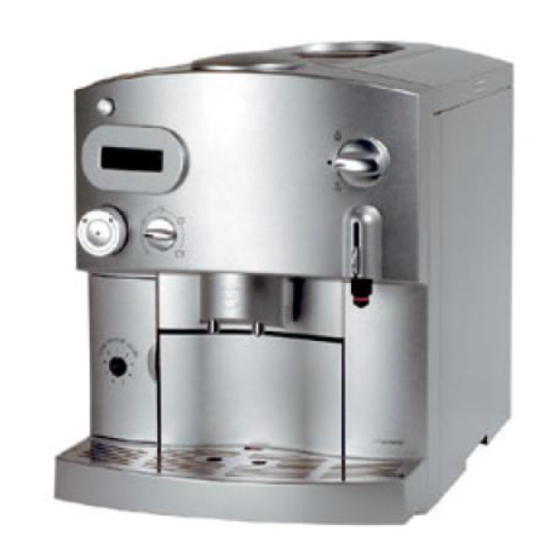
CF 300/400
Kaffee-Espresso-Vollautomat
Fully Automatic Espresso-Maker
Macchina per espresso completamente automatica
Machine à café/expresso entièrement automatique
Cafetera exprés completamente automática
Volautomatische koffie- en espressomachine
Gebrauchsanweisung
Operating instructions
Istruzioni per l'uso
Mode d'emploi
Instrucciones para el uso
Gebruiksaanwijzing
Werbung
Inhaltsverzeichnis

Verwandte Anleitungen für AEG CF 300


Inhaltszusammenfassung für AEG CF 300
- Seite 1 CF 300/400 Kaffee-Espresso-Vollautomat Fully Automatic Espresso-Maker Macchina per espresso completamente automatica Machine à café/expresso entièrement automatique Cafetera exprés completamente automática Volautomatische koffie- en espressomachine Gebrauchsanweisung Operating instructions Istruzioni per l’uso Mode d’emploi Instrucciones para el uso Gebruiksaanwijzing...
- Seite 3 13/A 13/B...
- Seite 4 17/A 17/B...
- Seite 5 Aufschäumergebnis erheblich beeinträchtigen. (Deutsche Telekom 0,12 Euro/Min.) Fax: 0911 - 323 49 1930 E-Mail: service.kleingeraete@aeg-hausgeraete.de 822 949 192 - 0602 Sehr geehrter Kunde, neben der detaillierten Beschreibung in der Bedienungs- anleitung für Ihre CF 400 beachten Sie zum Milchauf- schäumen bitte insbesondere die nachstehenden Hinweise: •...
- Seite 6 Service line: 0 18 05 – 30 60 80 (Deutsche Telekom 0,12 Euro/Min.) Fax: 0911 - 323 49 1930 E-mail: service.kleingeraete@aeg-hausgeraete.de 822 949 192 - 0602 Dear Customer, In addition to the detailed description given in the oper- ating instructions for your CF 400 please take particular note of the following information concerning frothing milk.
- Seite 7 (steam selector) Frothed milk spout (CF 400) H Swivelling nozzle for steam and hot- (Figure 2) water (CF 300) Height-adjustable nozzle for frothed A Knob for regulating the froth milk spout, steam and hot water B Suction piece (CF 400;...
-
Seite 8: Inhaltsverzeichnis
Prior to Making Coffee 2.1. Filling the Water Tank (Figure 6) Your AEG coffee machine has func- 2.2. Filling the Bean Container tions that guarantee you (Figure 7) • easy operation, when preparing coffee 2.3. -
Seite 9: Safety Instructions
• Never allow the mains lead to come the appliance, or into contact with hot parts of the • an AEG Service Force Centre. appliance. In no circumstance should the appli- • Never pull the plug from the socket by... -
Seite 10: Before Using For The First Time
1. Before Using for the First Time Position 6: Decalcifying If “UNIT DECALC.” appears in the dis- 1.1. Setting up the Appliance play, the appliance must be decalcified using a decalcifying agent. The decalci- Choose a suitable, level, stable, fying programme runs automatically. unheated, dry surface. -
Seite 11: Filling The Bean Container
0 Refit the water tank in the appliance 2.4. Switching On the Appliance and press it down until it engages so (Figure 8) the valve on the base is opened. 0 Switch the appliance on using the For aromatic coffee, you should: On/Off button (Figure 1/A). -
Seite 12: Adjusting The Water Hardness
2.6. Adjusting the Water 2.7. Inserting the Water Filter Hardness The appliance is fitted with a water fil- ter. This water filter helps to remove Your appliance can be adjusted to the the majority of such elements as chlo- hardness of the water used. The water rine from tap water that might other- hardness must be adjusted correctly so wise spoil the flavour. -
Seite 13: Rinsing" The Appliance
(Figure 1/A). either from a specialist retailer (E No. 900 084 951/4) or from your 3. Making Coffee nearest AEG Service Force Centre (ET No. 900 084 951/4). Although you are brewing espresso coffee with your coffee machine, the 2.8. “Rinsing” the Appliance... -
Seite 14: Adjusting The Amount Of Water
3.1. Adjusting the Amount of 3.2.4. Two Cups of Regular Coffee from Beans Water (Figure 10) 0 Place a cup under each of the spouts. The amount of water per cup can be adjusted using the selector dial Note: The correct position for the cups (Figure 1/R). -
Seite 15: Frothing Milk (Figures 14-18)
As you do so, carefully last appears in the display. push against the grip for adjusting the CF 300: height of the steam nozzle. 0 Slide the movable tube on the swivel- 0 Pour cold milk into the container sup- ling nozzle all the way down (Figure plied. - Seite 16 READY” appears in the display. the display. 0 Immerse the nozzle about half way CF 300: down inside the container with the liq- 0 Slide the movable tube on the swivel- uid to be heated so that the air can be ling nozzle upwards (Figure 13/B).
-
Seite 17: Preparing Hot Water
(Figure 20). the display. 0 Press on the markings on the left or 0 CF 300: Hold a container under the right side of the drip grille and remove swivelling nozzle (Figure 1/H). the drip grille (Figure 21). Pour away 0 CF 400: Attach the frothed milk spout the water left in the drip catcher. -
Seite 18: Internal Cleaning
Outlet and spouts: Clean with a damp COFFEE FUNNEL, PRESS P BUTTON” cloth as required. appears in the display. 0 Now insert an original AEG cleaning Filler opening for ground coffee: Clean with a damp cloth as required. tablet in the coffee funnel (Figure 1/D). - Seite 19 9. Decalcifying the Appliance of the descaling solution is pumped over the steam tube, and the second Your appliance has a decalcifying pro- half directly to the collecting tray. gramme for decalcifying the appliance 0 If the container is filled during the pro- (duration approx.
- Seite 20 • the grinder is making loud noises: water! – Check the grinder for foreignbodies. If necessary, have the appliance – Set a higher coffee temperature (see checked by an AEG Service Force Section 3.3). Centre. Caution: Sugar and milk lower the temperature of the coffee! •...
-
Seite 21: For The Sake Of The Environment
12. If a Service is Required If repairs to the appliance become nec- essary, including the replacement of the mains lead, please contact an AEG customer service centre by telephone initially (in Germany please use the following hotline: 01805-306080*).